Control Center
Dashboard
The dashboard provides an “at-a-glance” real-time view of your payment KPIs, allowing you to analyze the different stages of your payment flow in one place. The dashboard shows for each of the transaction stages (Initiated, Blocked, Voided, Declined, Successful, Refund) the total amount in USD and the total number of transactions, as well as a breakdown of each transaction stage based on provider, currency and payment method. Use the data to identify potential areas for improvement.

Analytics
Analytics allow you to get a deep dive view of your payments data. Data shown includes decline reasons, as well as approval rates by card countries, currencies, payment methods and issuing banks. Compare your providers performances and identify at which metrics a provider accelerates so you can route relevant traffic based on this information and increase your approval rates.

Block, Route and Instant Retry Rules
PaymentsOS allows you to segment and route your payments to the most optimal provider to meet your business needs. You can then leverage the insights derived from the dashboard and analytics data to create and fine-tune business rules that will further optimize your payment flows and ensure better business outcomes.
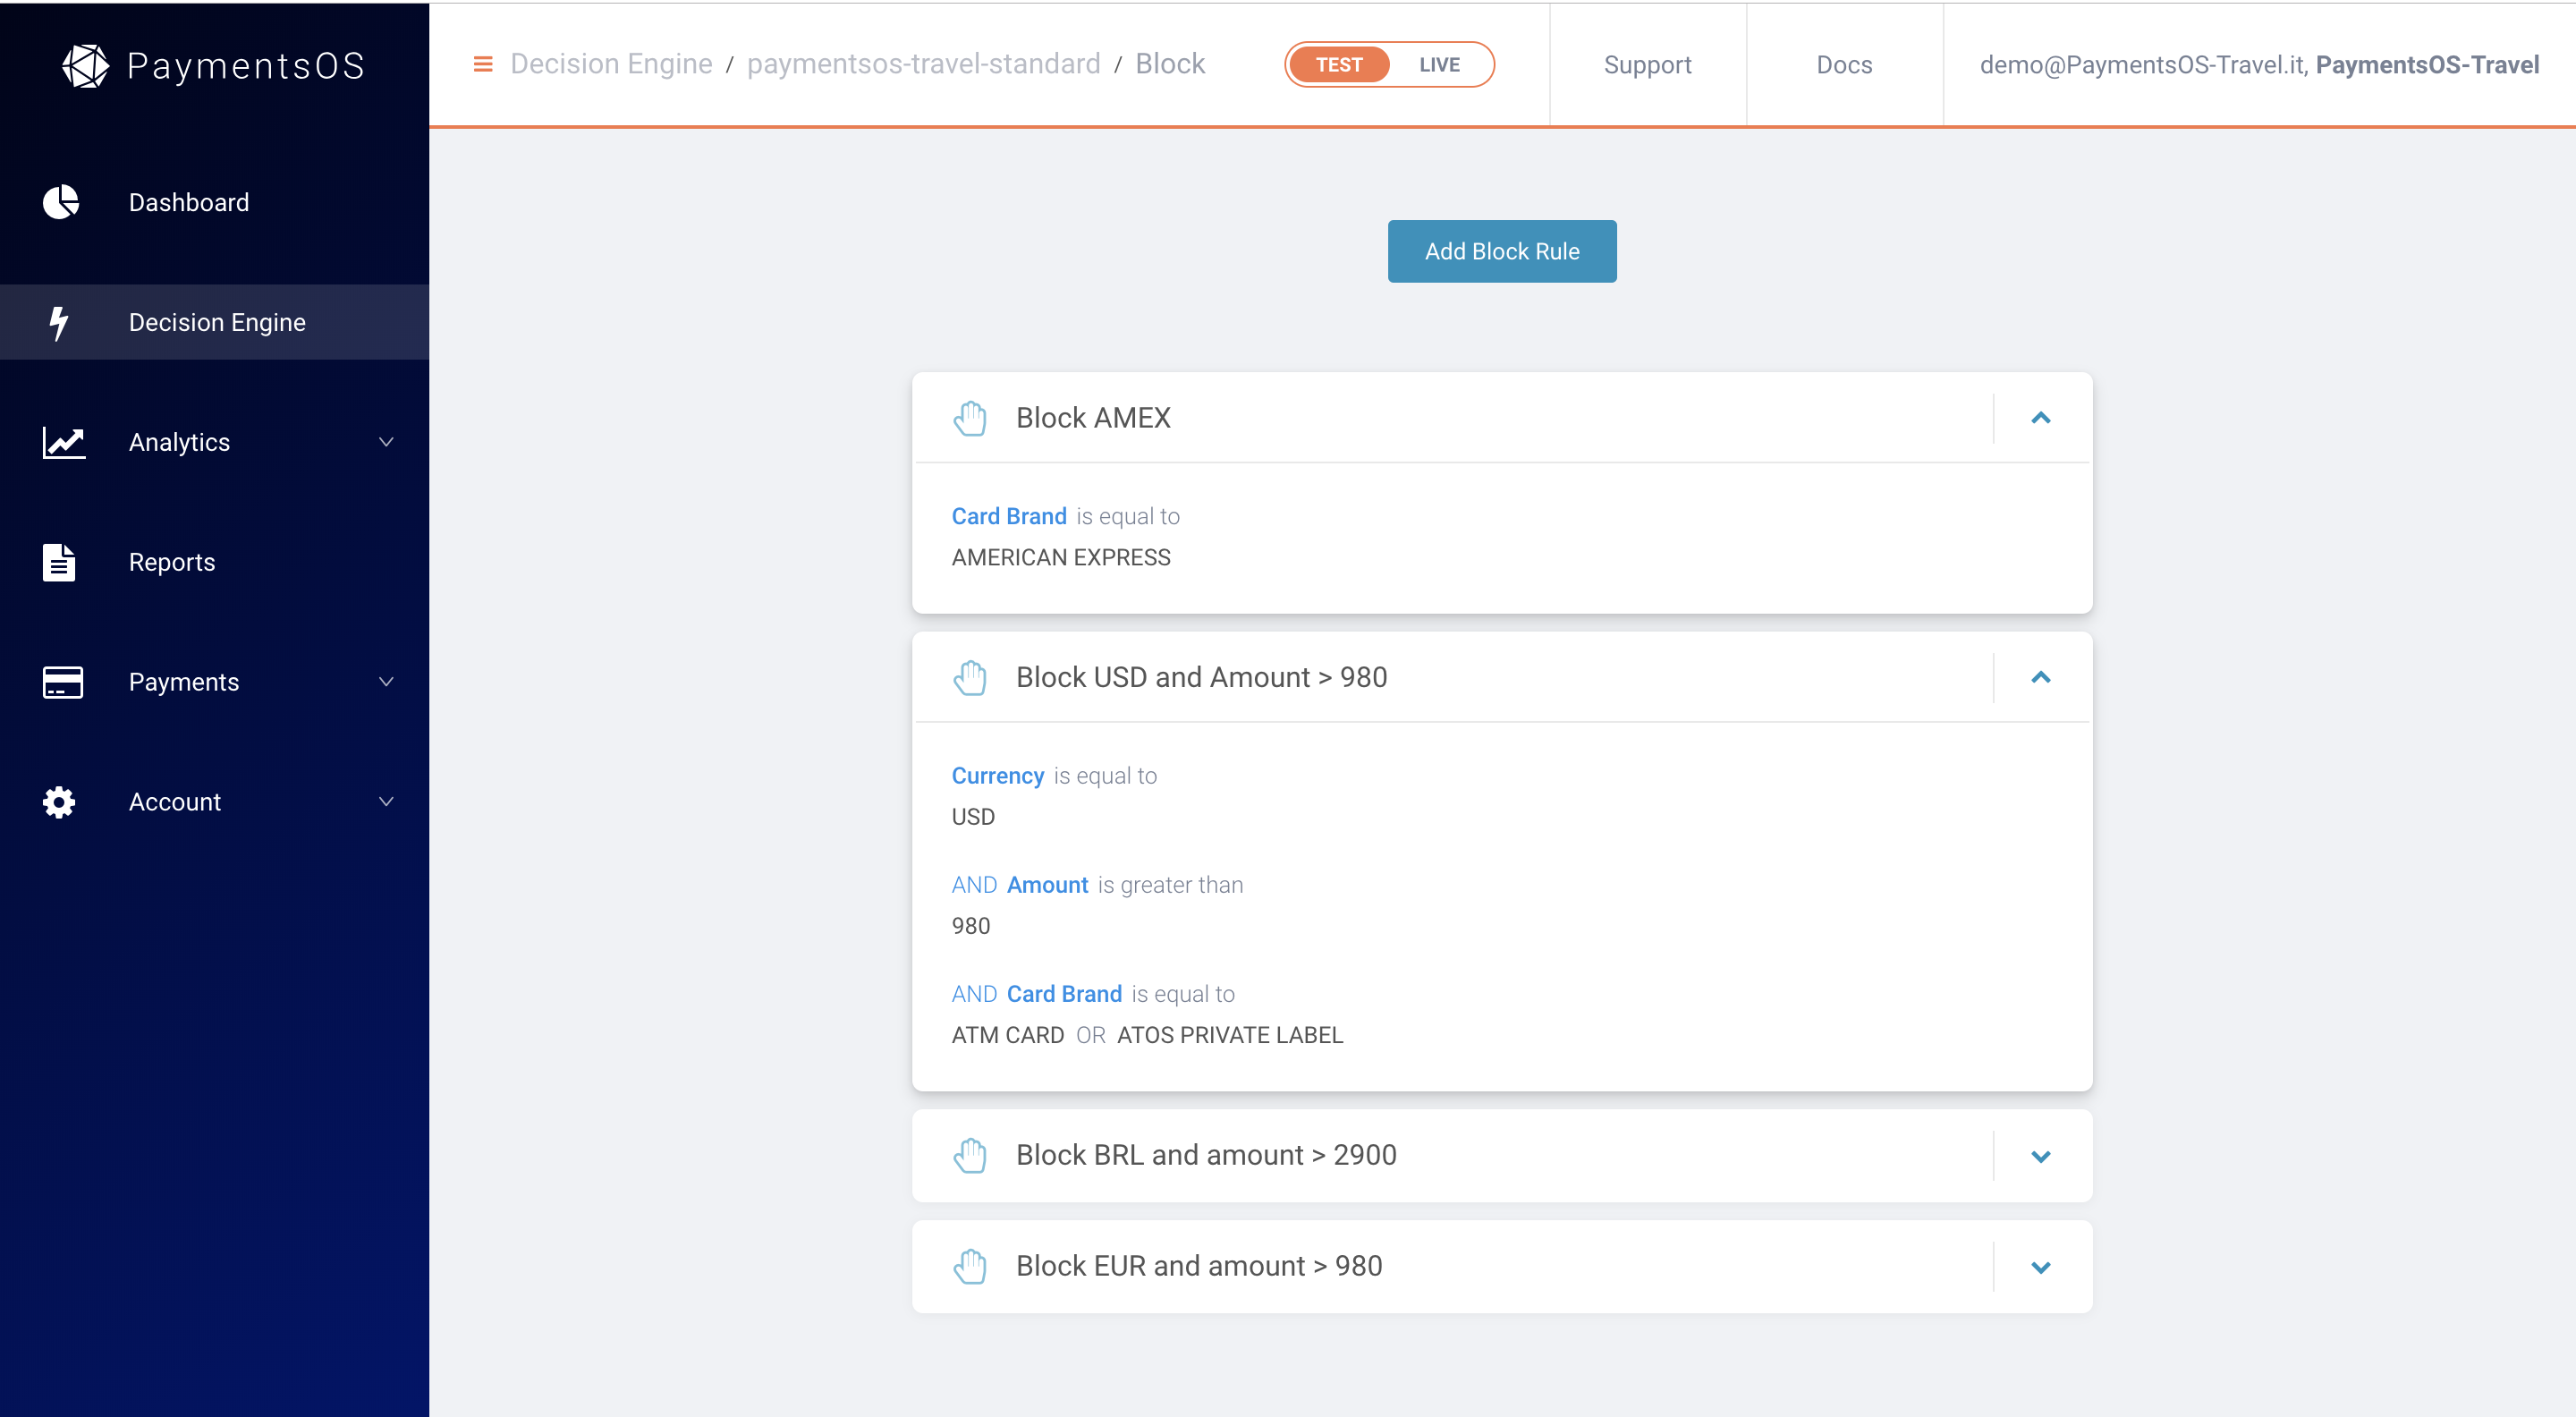
For instance, if you have reasons for not honoring a payment you can add those as block rules. Block rules prevent unwanted transactions from reaching providers. Once activated, our Decision Engine checks every transaction for a match against the block rules you defined. When our Decision Engine detects a block rule match, the transaction is immediately disabled and prevented from continuing on to the provider. To add your block rules, choose Decision Engine, select your Business Unit and choose Block Payments. You can block transactions based on currency, amount, card details and more.
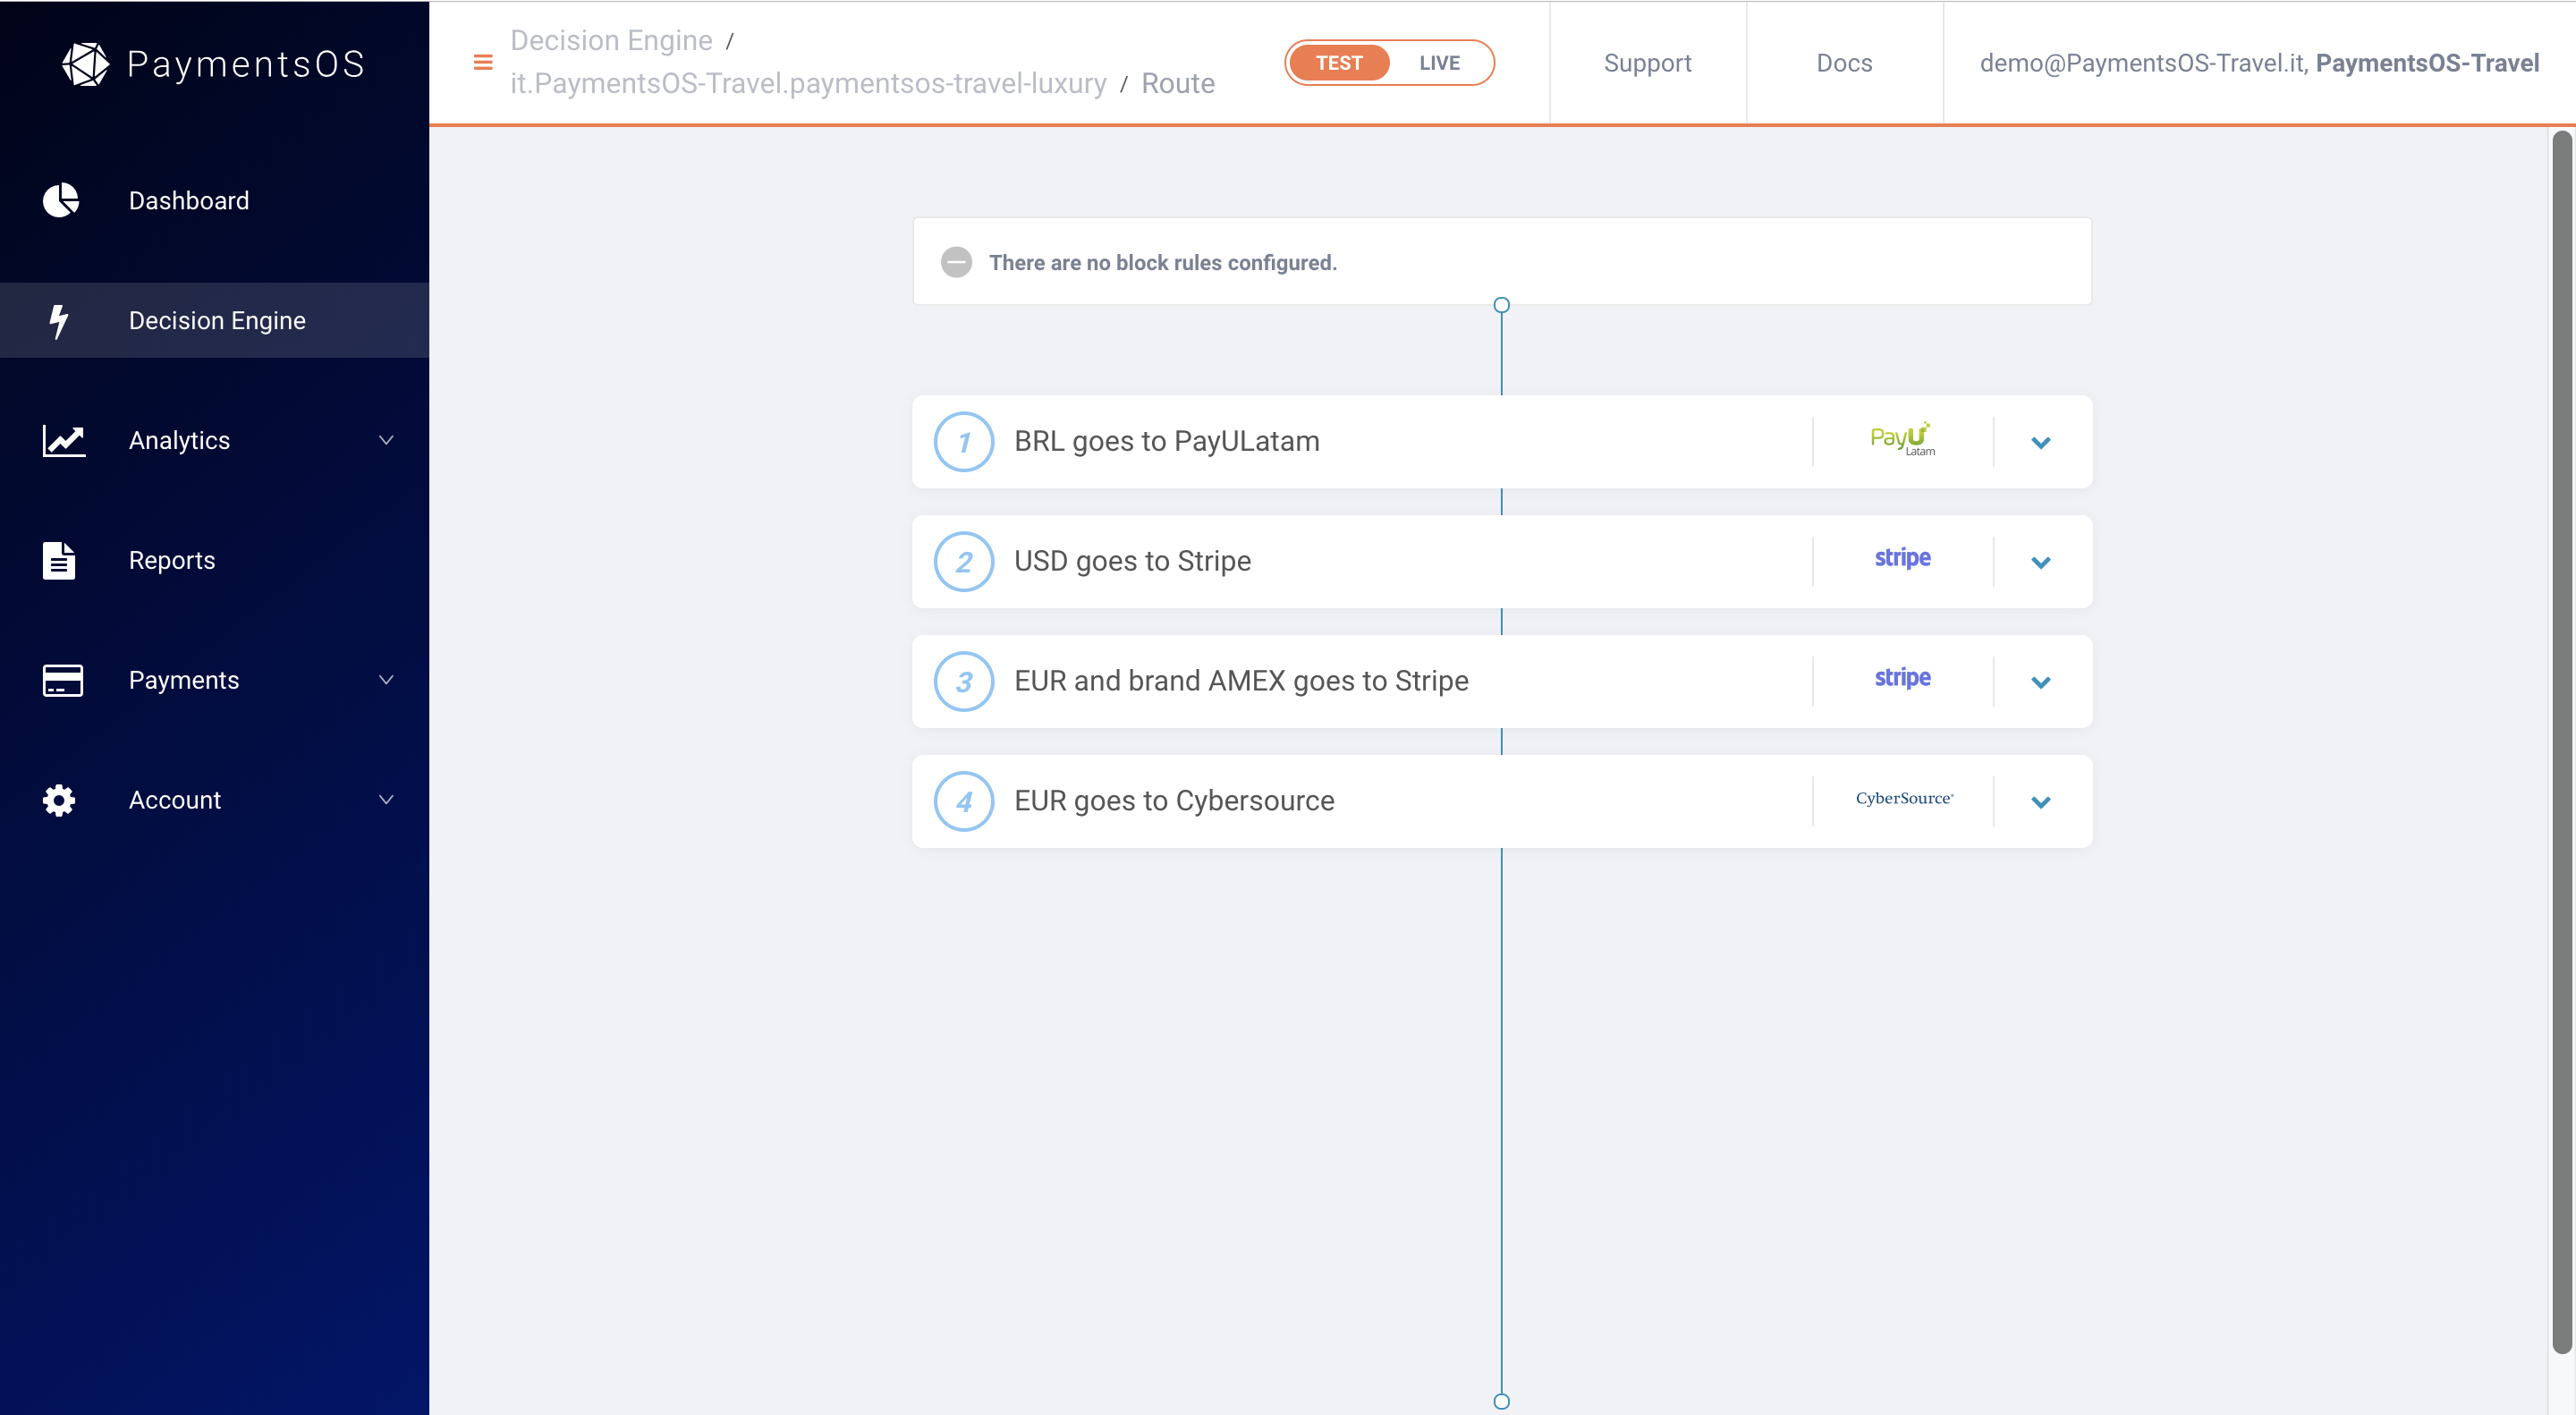
For each business unit, you can also define route rules that will allow the PaymentsOS Decision Engine to direct your payments to the most optimal processing destination based on your business needs. To access, choose Decision Engine, select your Business Unit and choose Payments Routing.
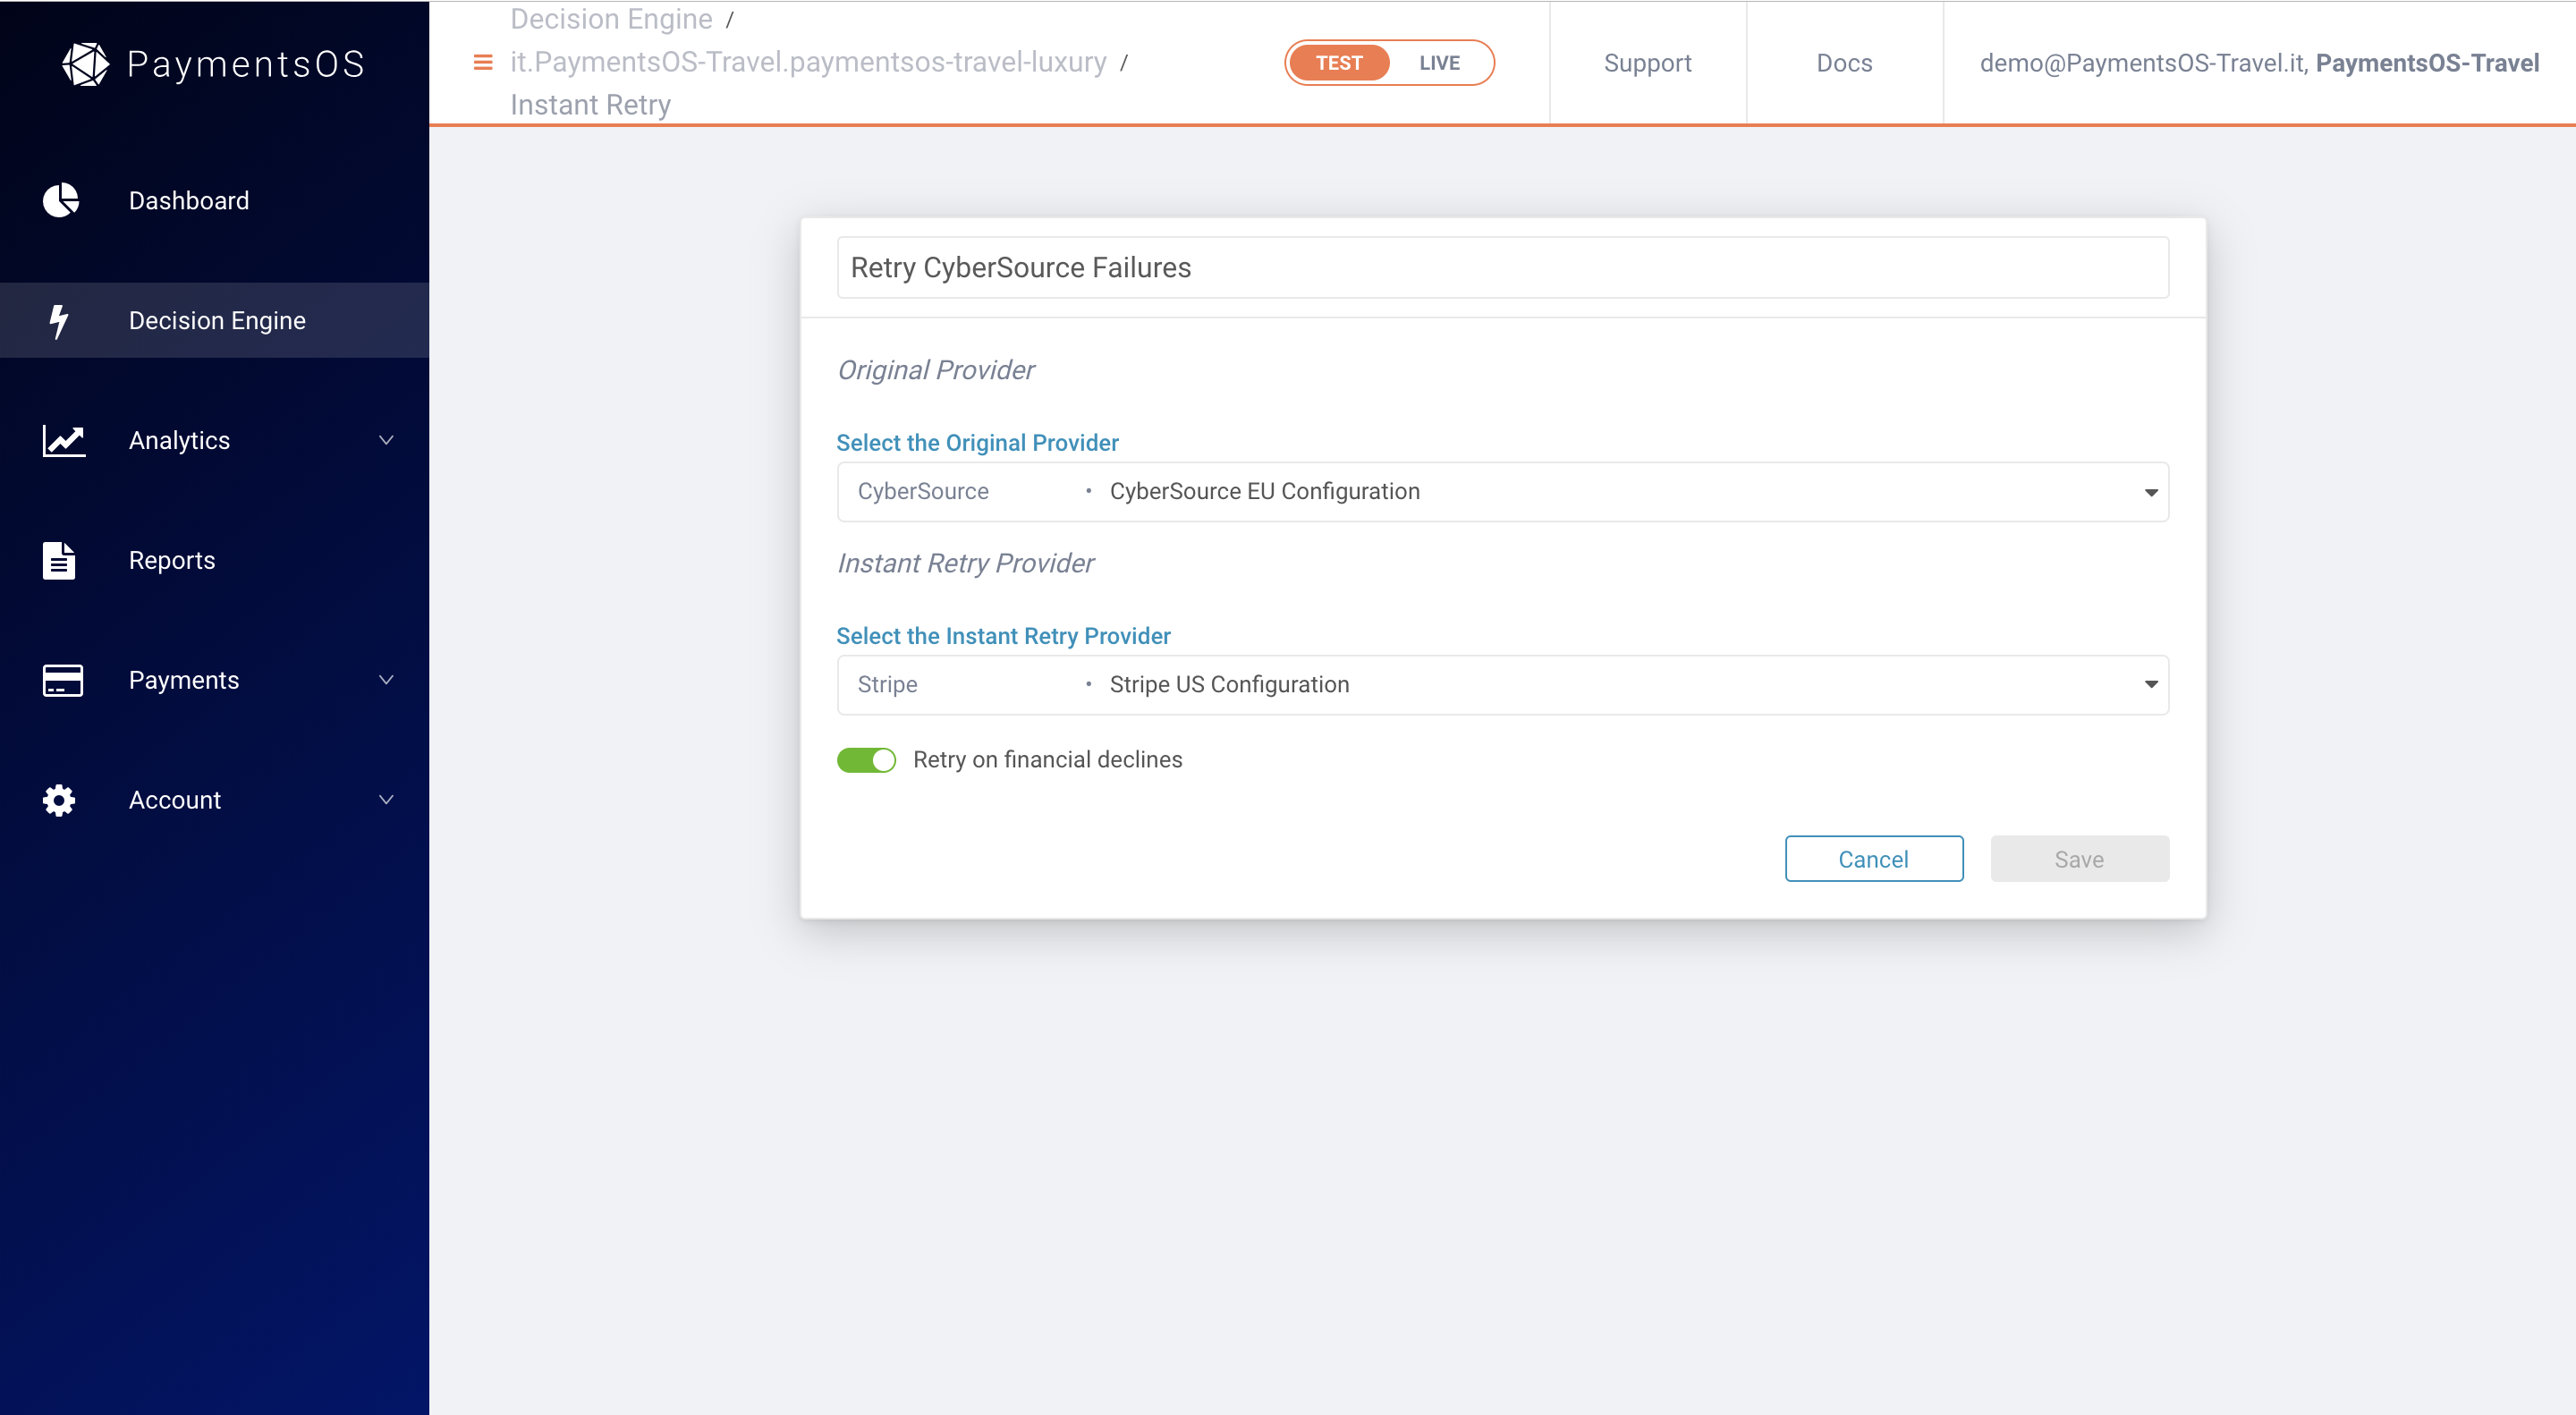
In the event that a provider receiving a transaction request failed to process the payment, you can define instant retry rules that will reroute a payment to another provider. Choose Decision Engine, select your Business Unit and choose Instant Retry to add your instant retry rules.
Payment Search
To find transaction information on-the-fly, use Payment Search. Simply enter what you are looking for and get immediate search results.
Note
Please note that Payment Search only retrieves transactions from the past 2 years. Transactions older than 2 years can be obtained using Reports.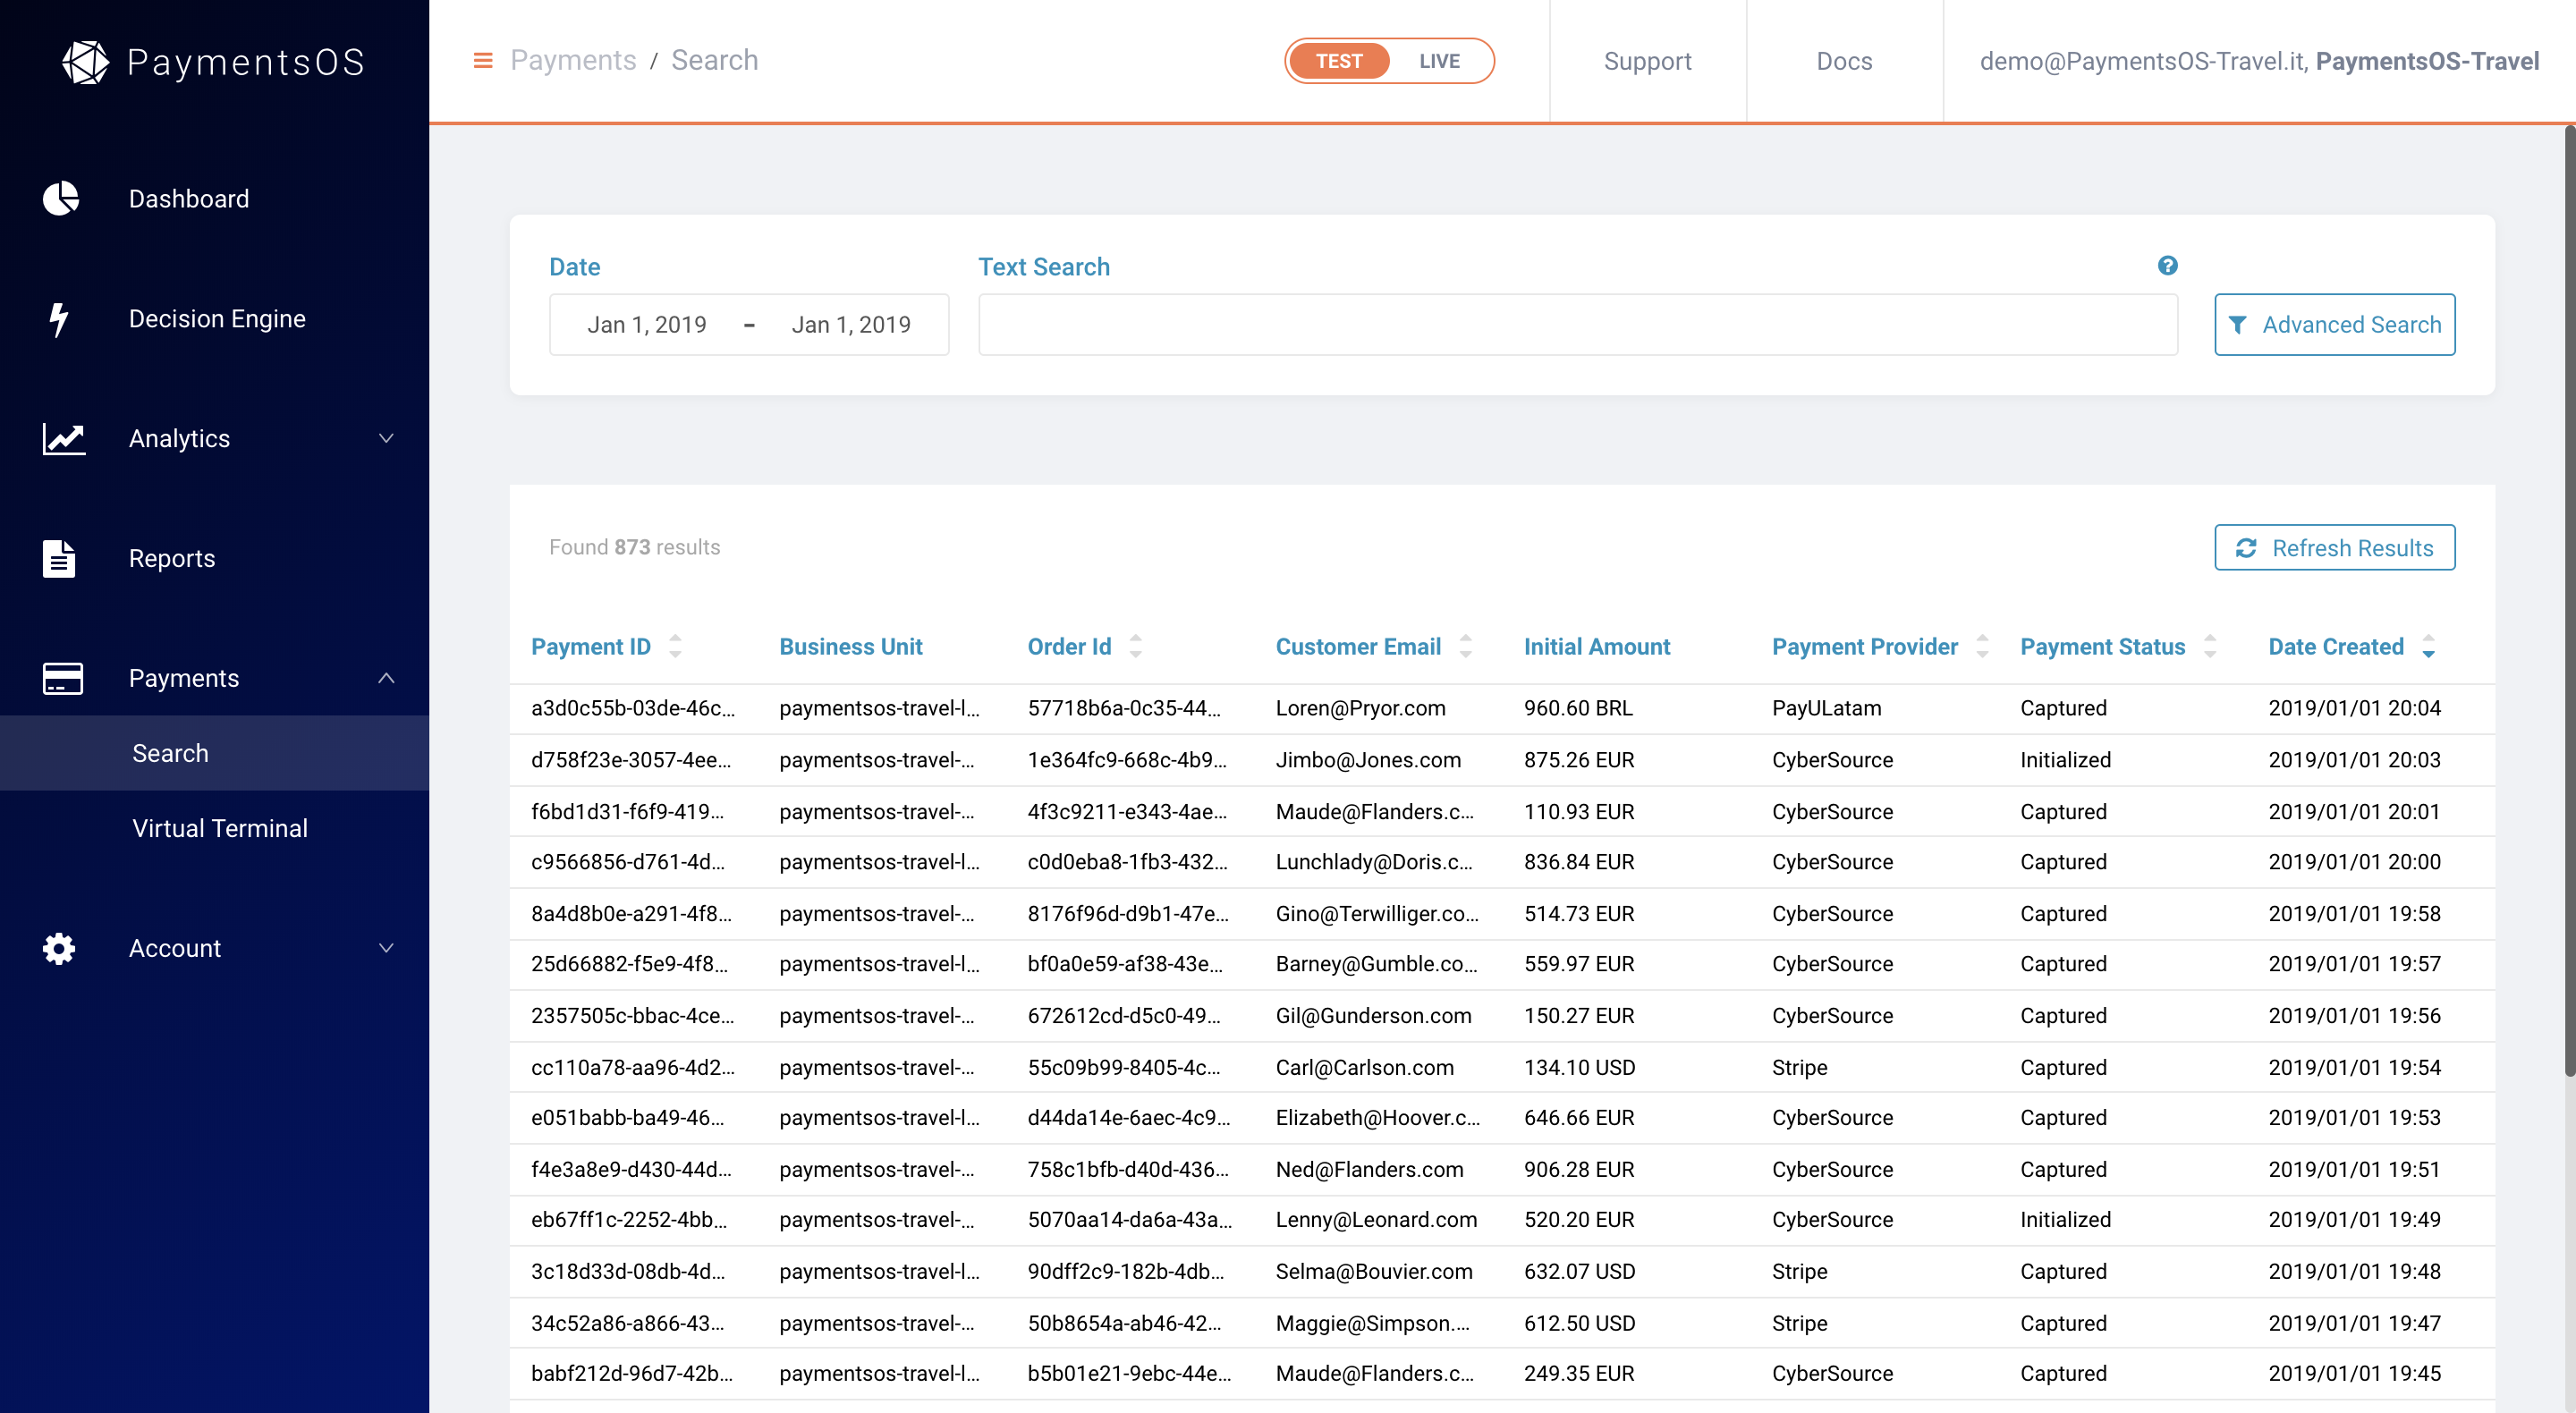
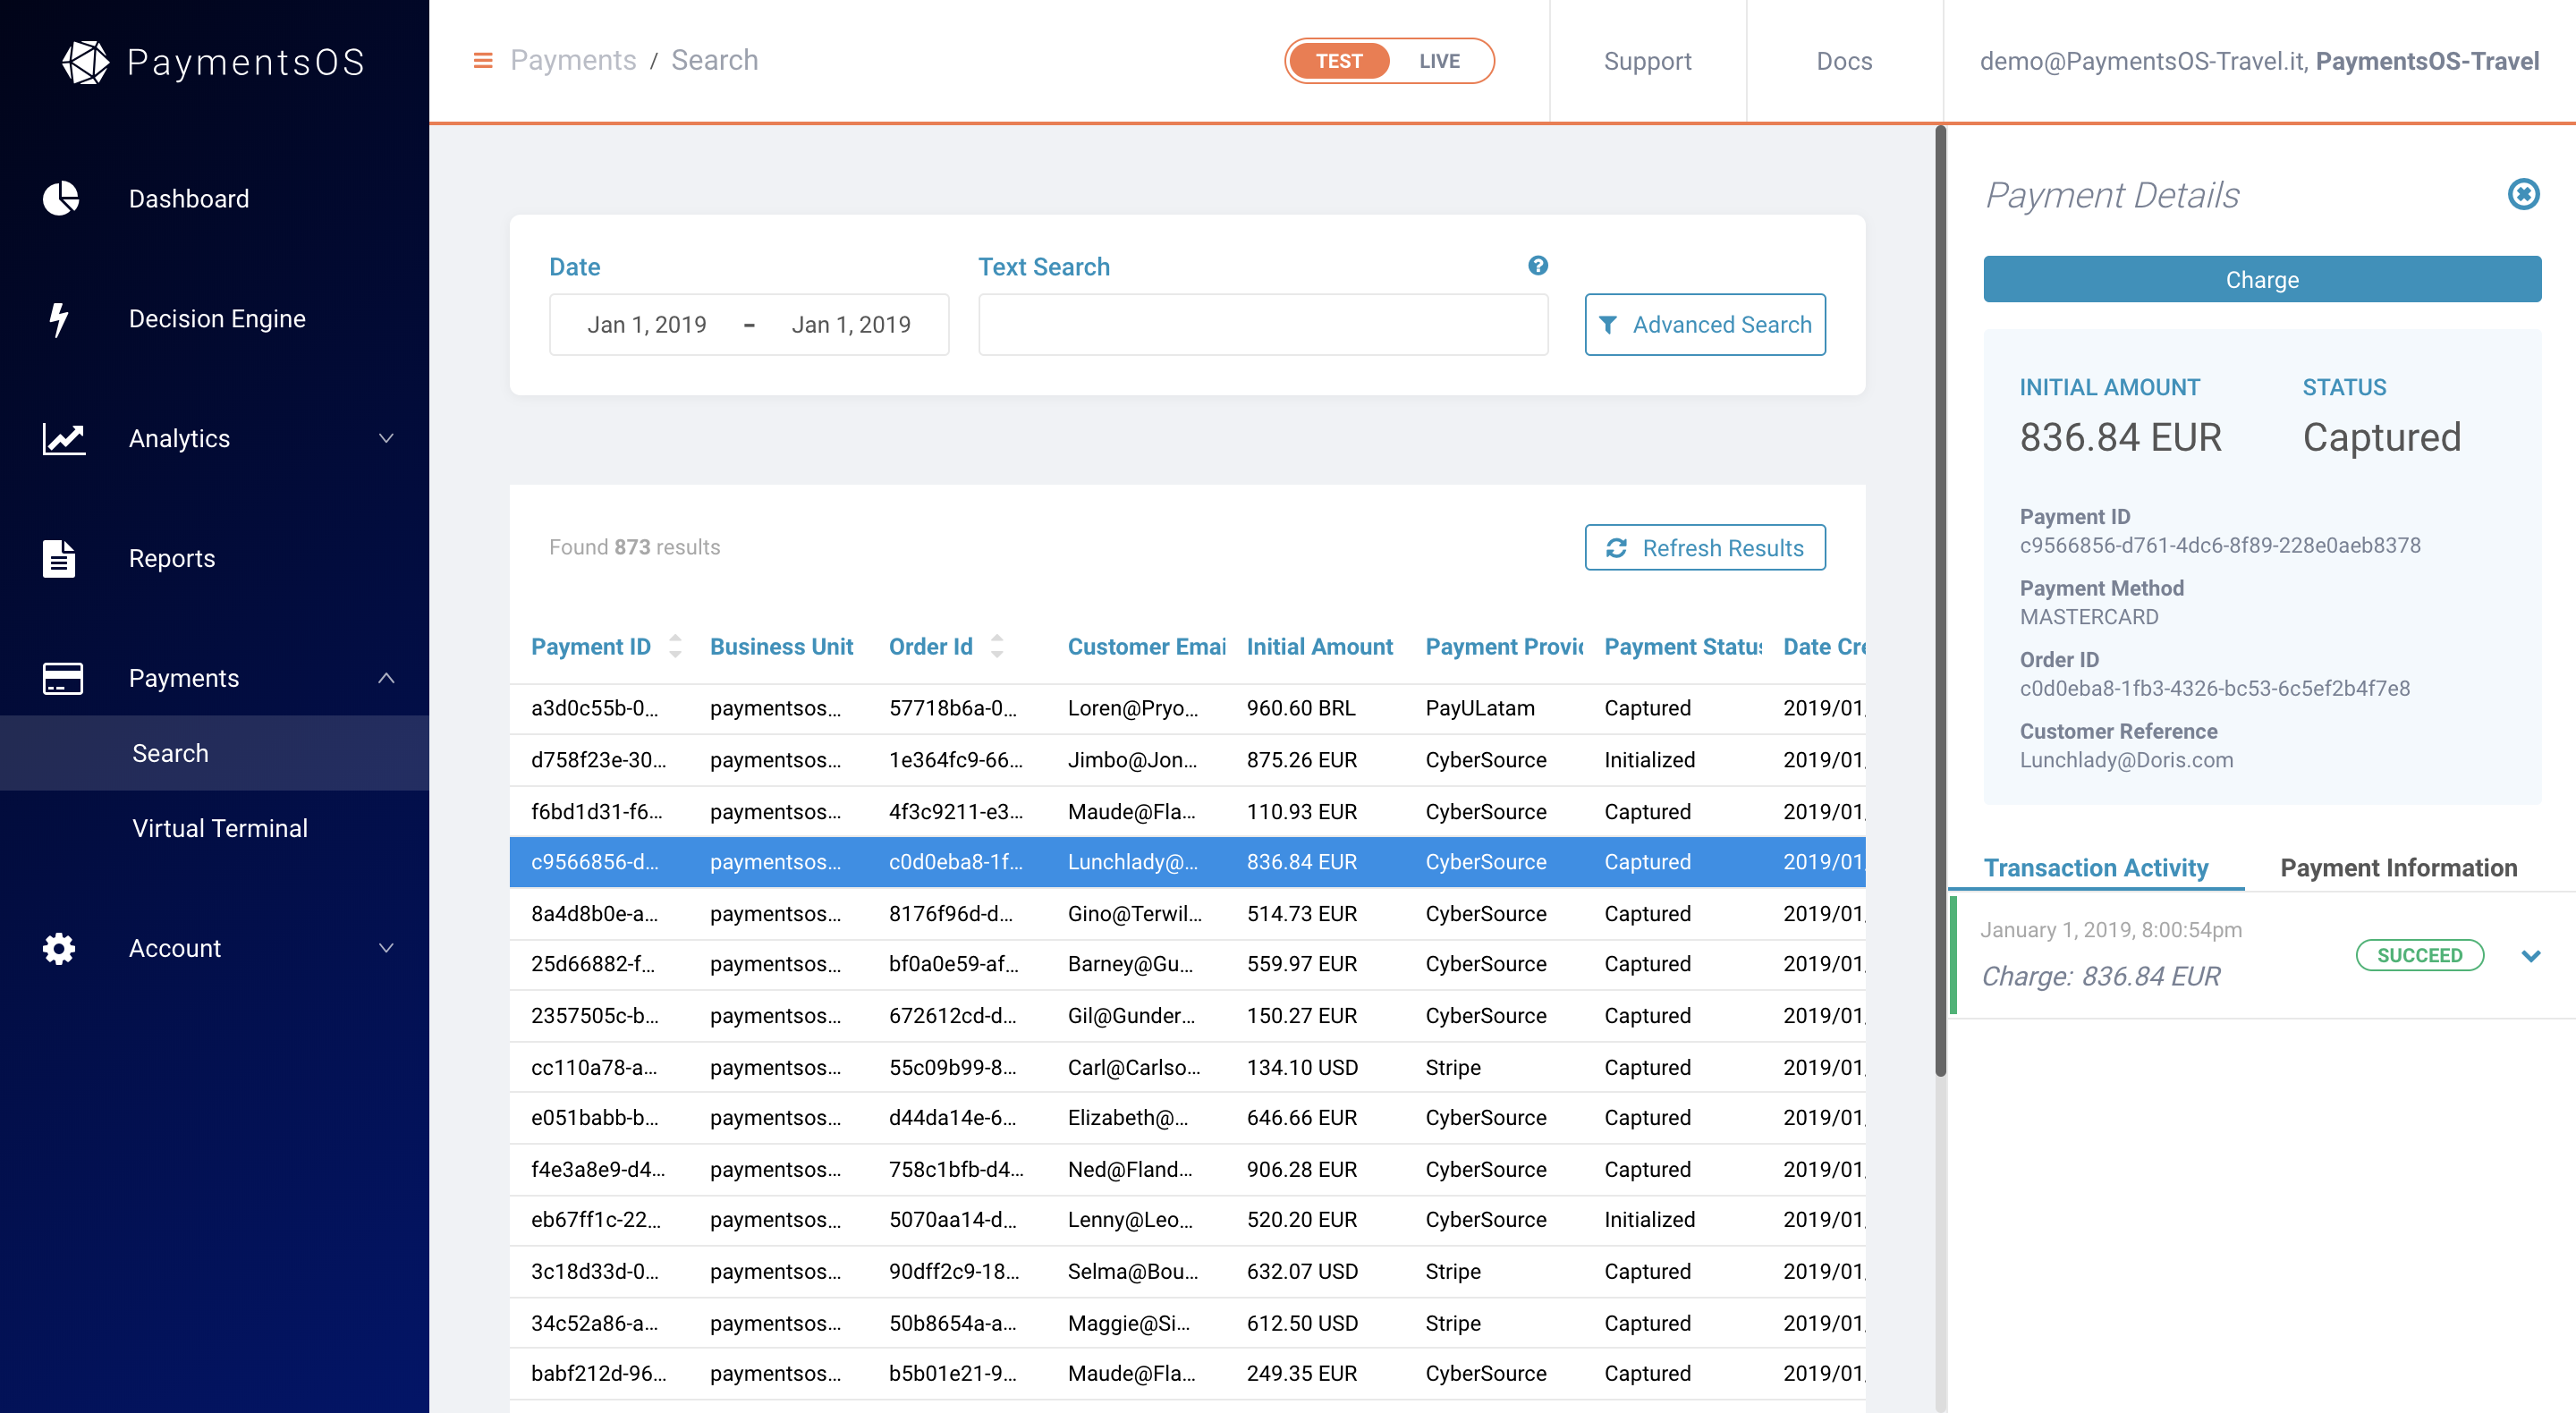
From within the search results, you can drill down to an individual transaction record for a more granular view. Data shown includes information returned by PaymentsOS, as well as information specific to each provider involved in the payment flow.
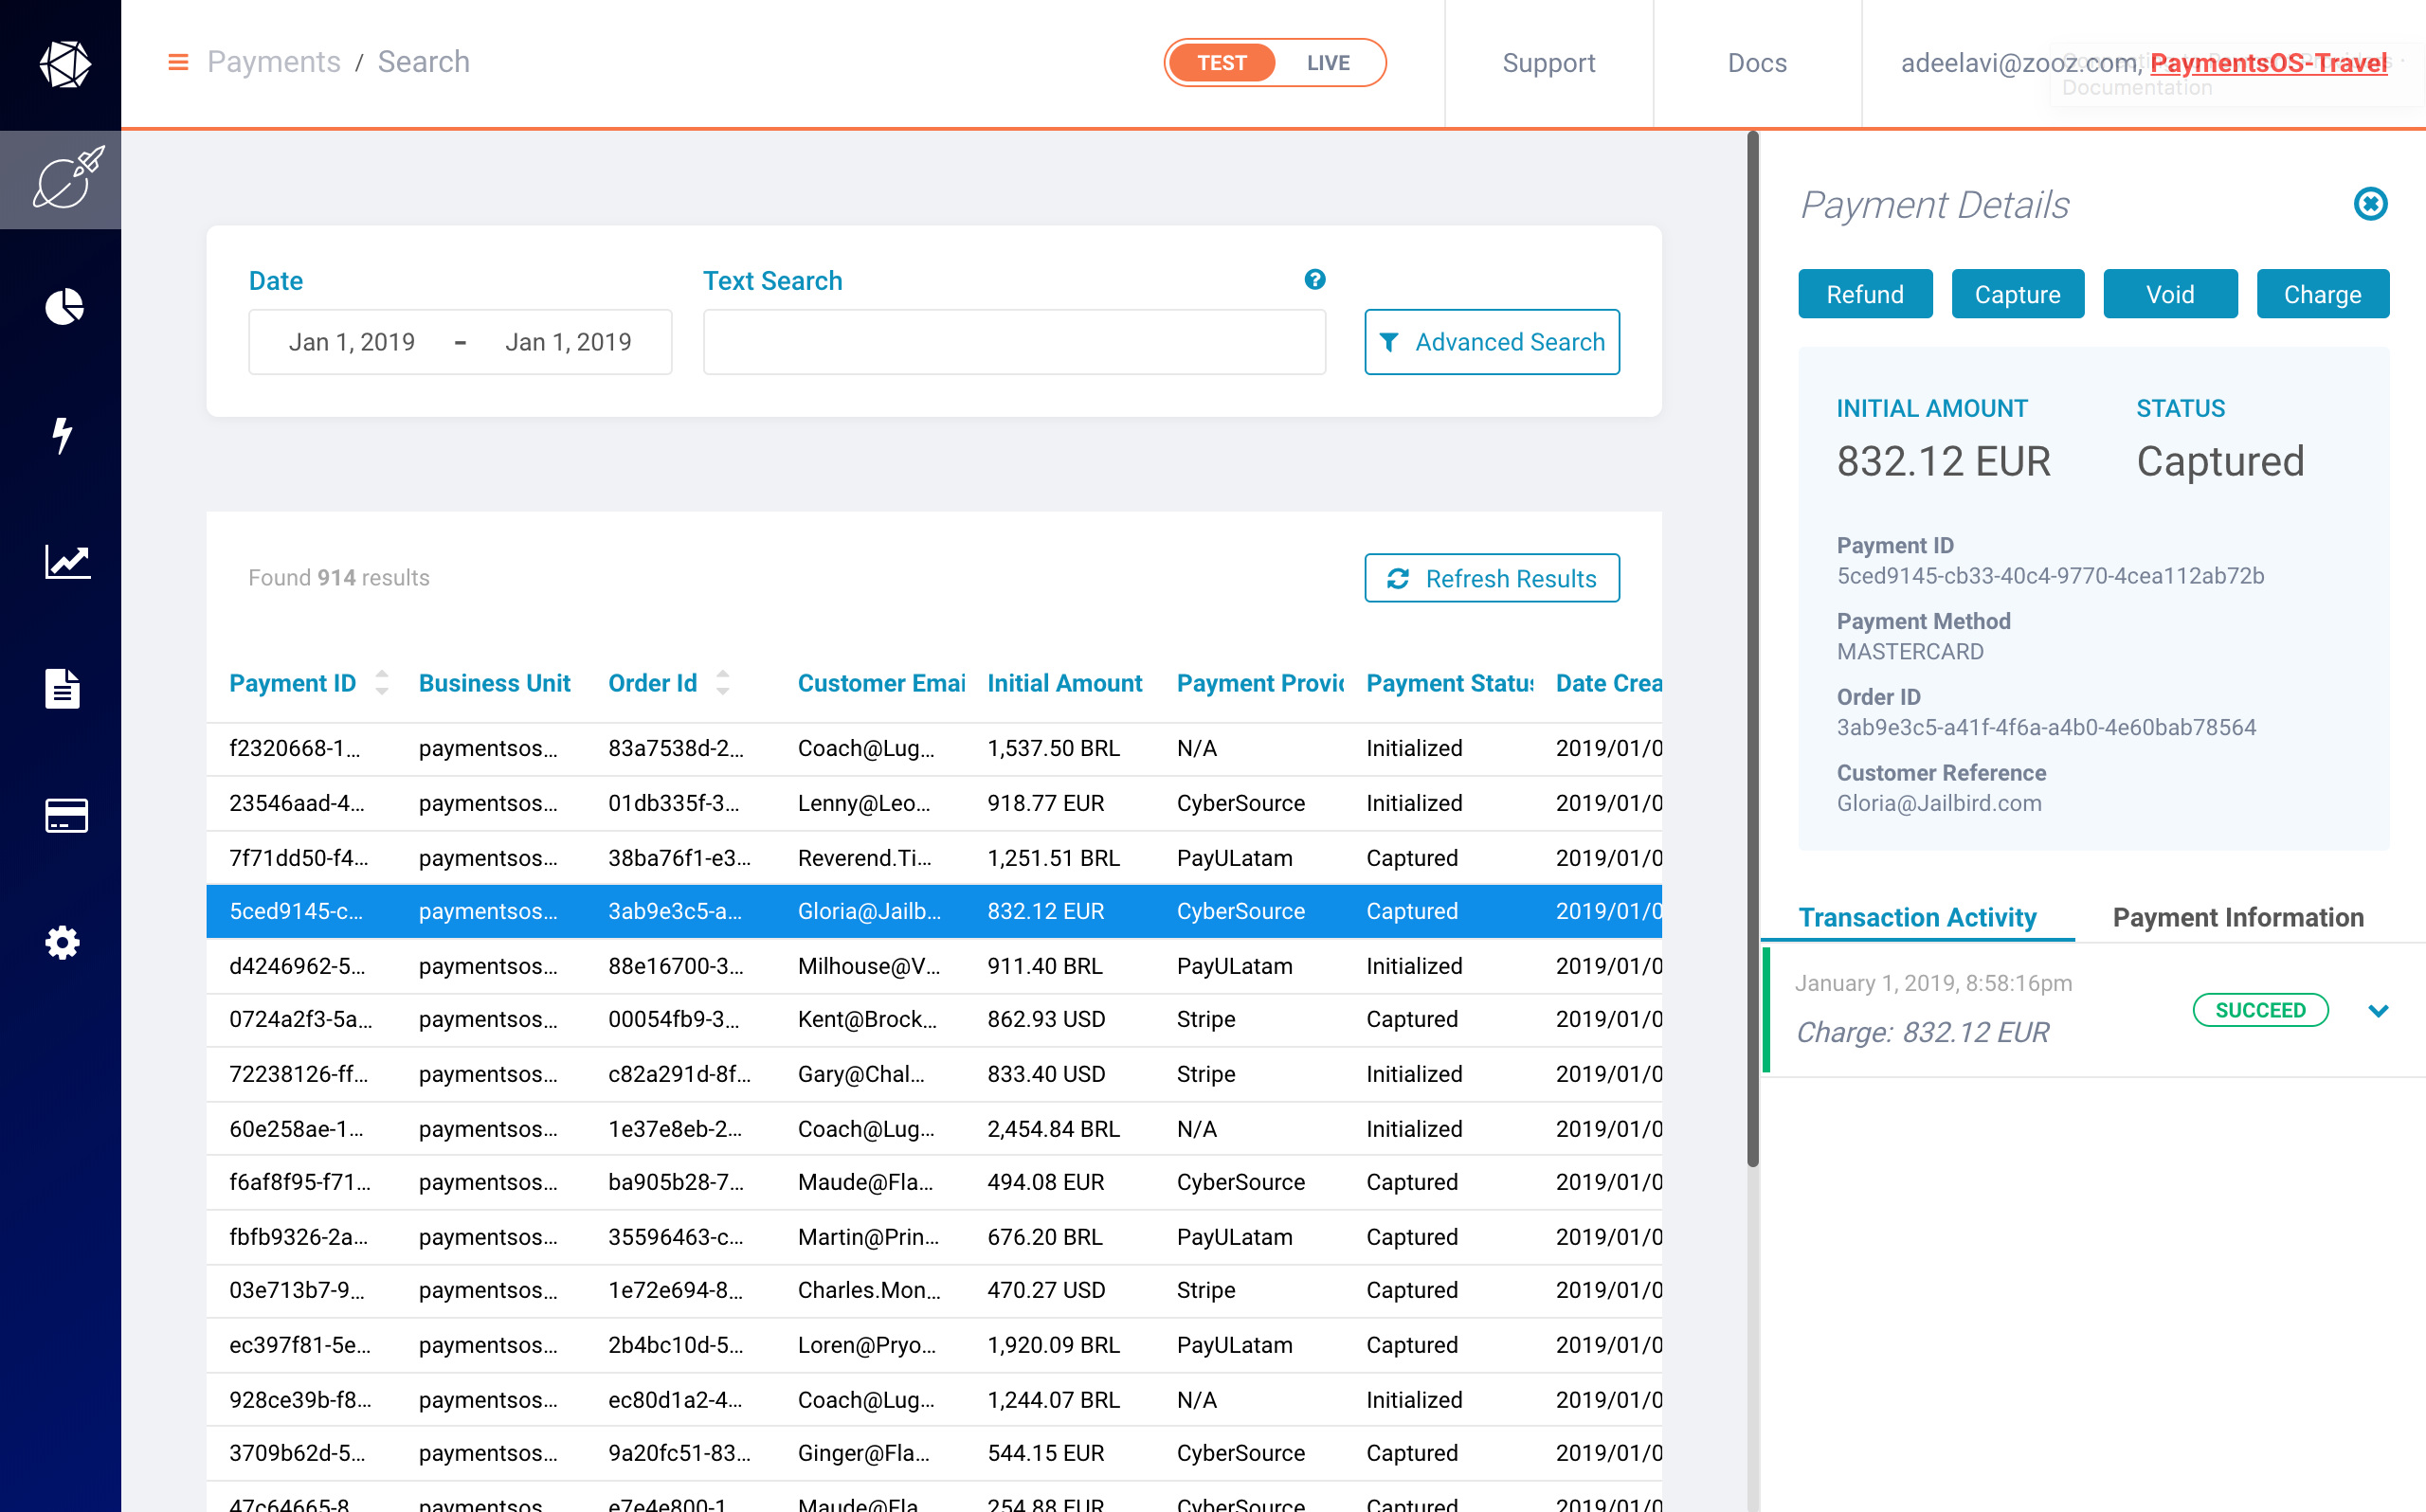
You can also capture or void a payment, or refund a customer, directly from a payment record.
Reports
A report is a subset of your payments data, providing granular transaction-level information extracted to a csv file. There are two types of reports you can create: transaction reports and settlement reports. A transaction report provides a detailed breakdown of the transactions passing through your account; a settlement report provides a detailed breakdown of the payments settled to your bank account, including additional information such as fees and taxes that were deducted from the transaction.
Notes
Settlements reports can only be generated in the live environment.You can base a report on a template, which defines the filters you want to apply to the data when the report is generated and the columns you want to include in the report. A report definition can be saved as a template, so that your reporting criteria are available the next time you want to generate an identical report.
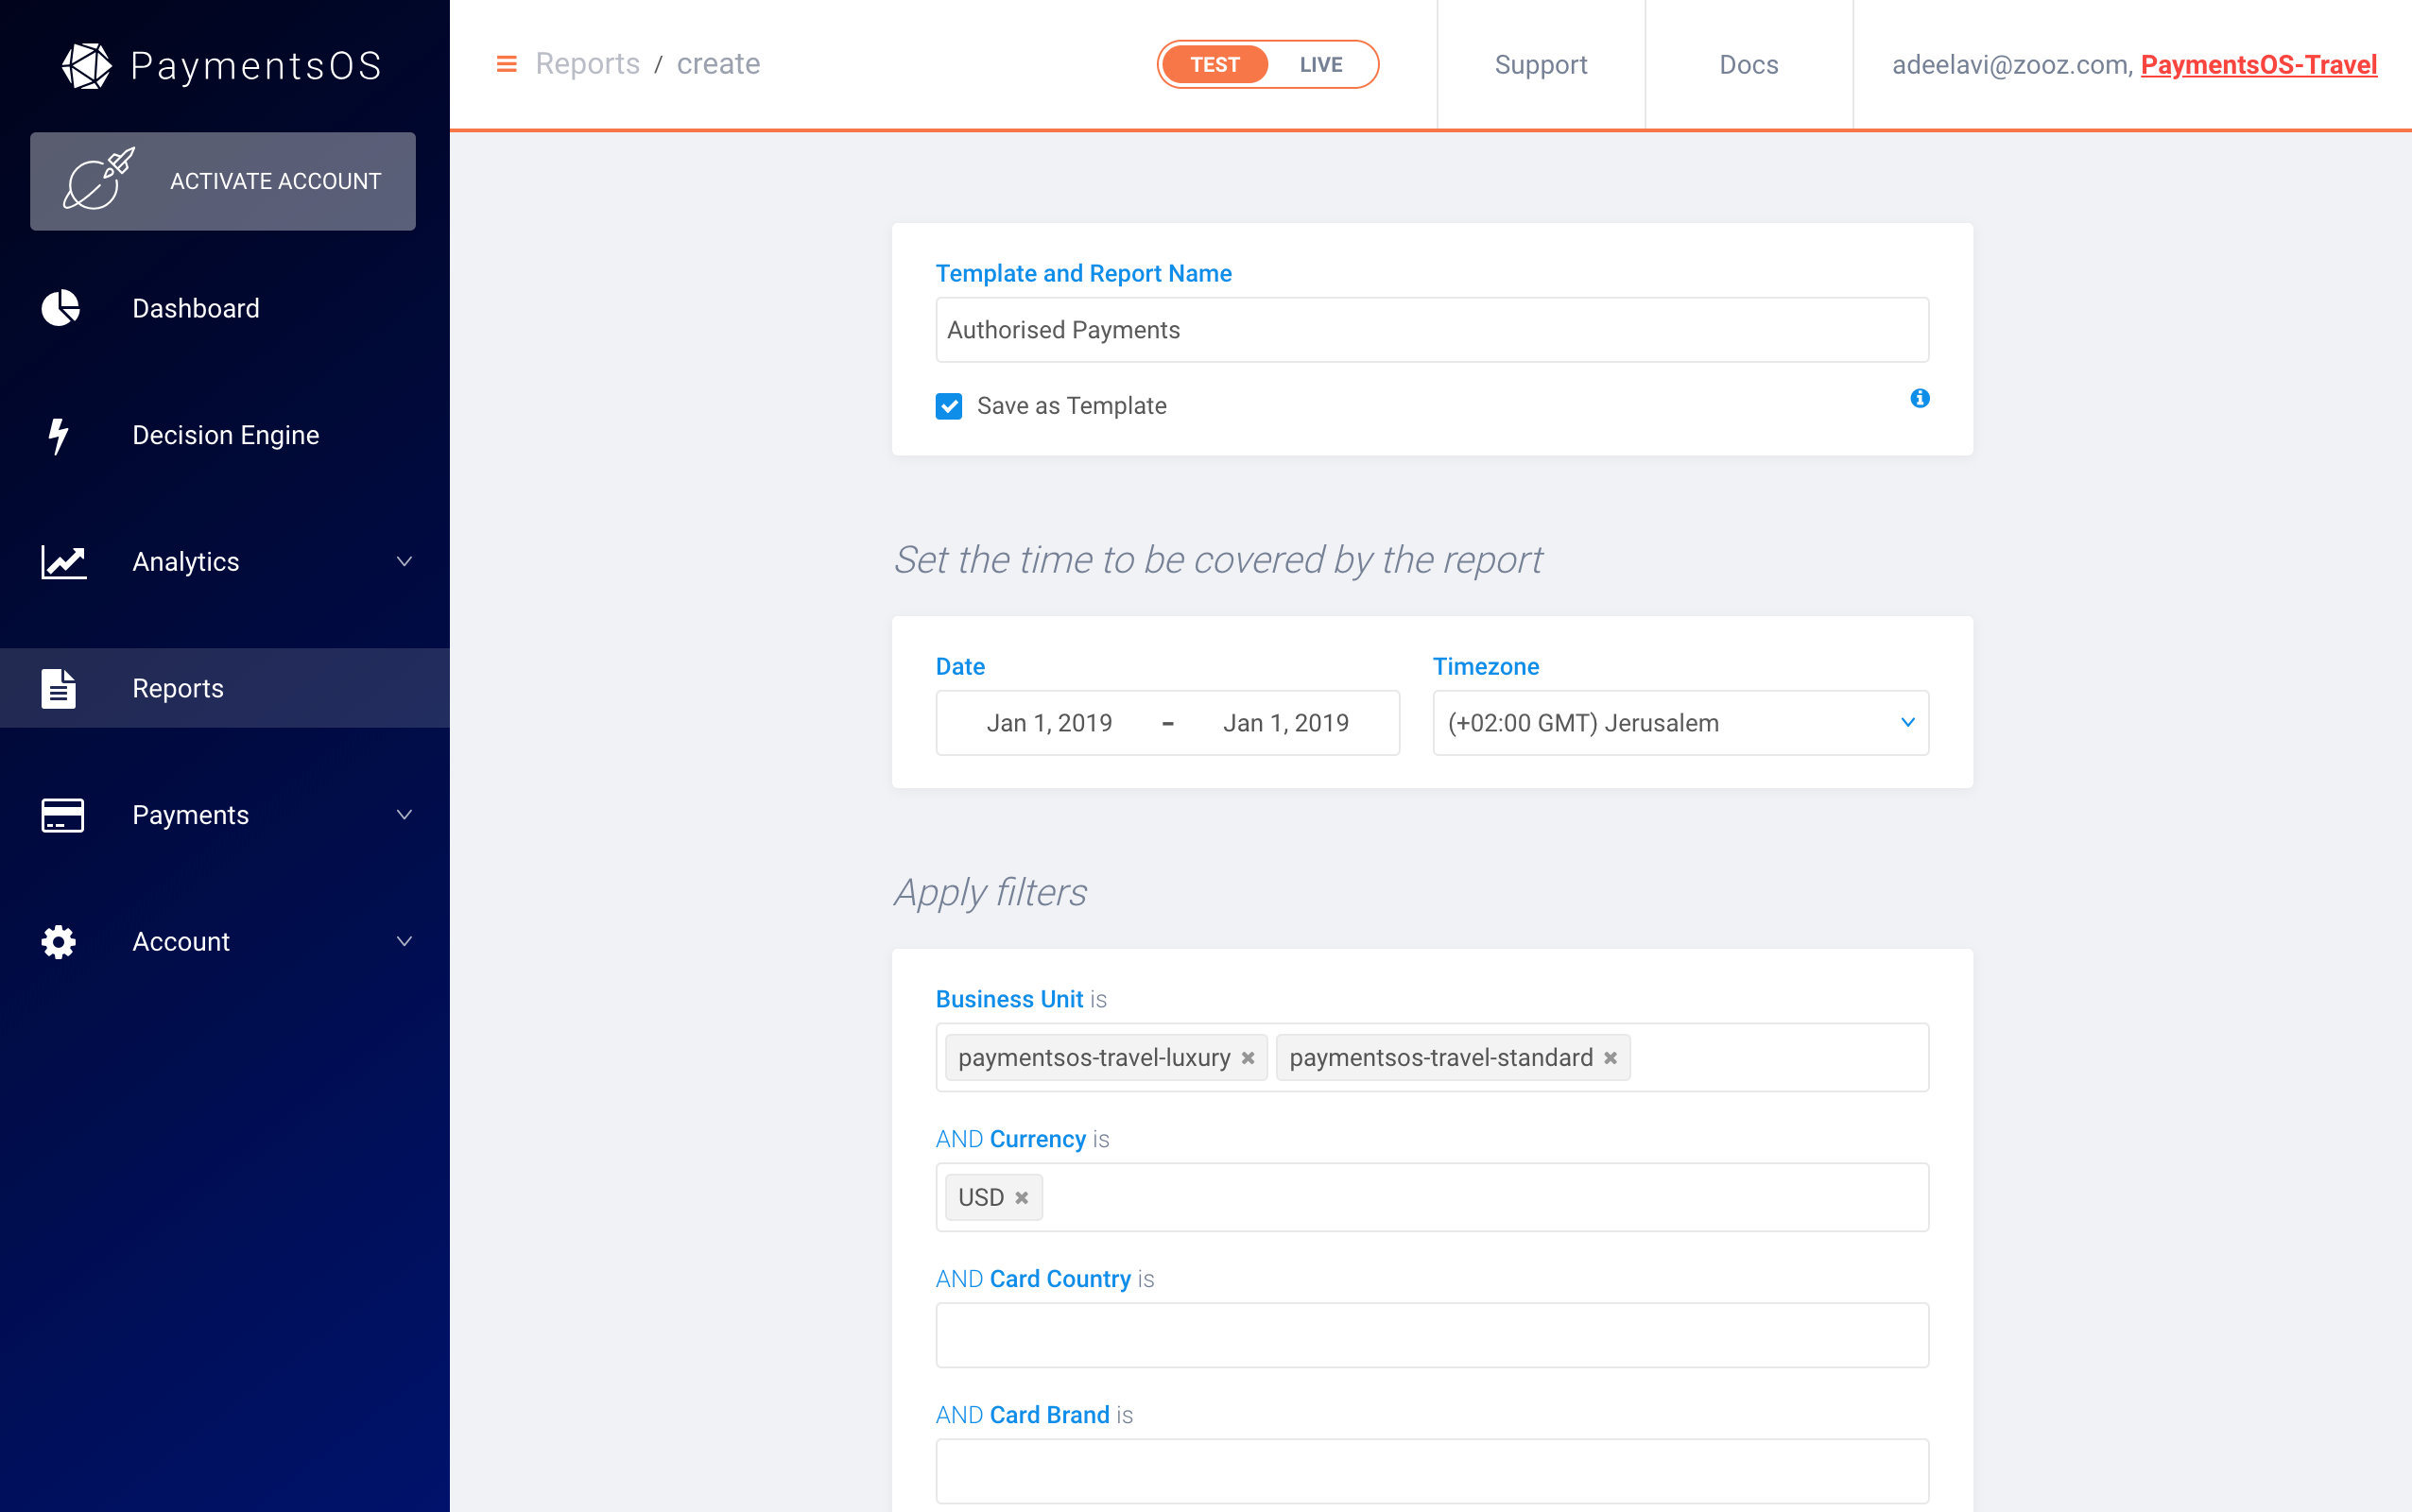
To generate a report, simply choose a template, modify the date range if needed and click Generate Report. If desired, you can also define a schedule that will automatically create the report every day, week or month. You will be notified by email when a report is ready for download.
Notes
You can generate up to 40 reports per day and fetch up to a year of data.Virtual Terminal
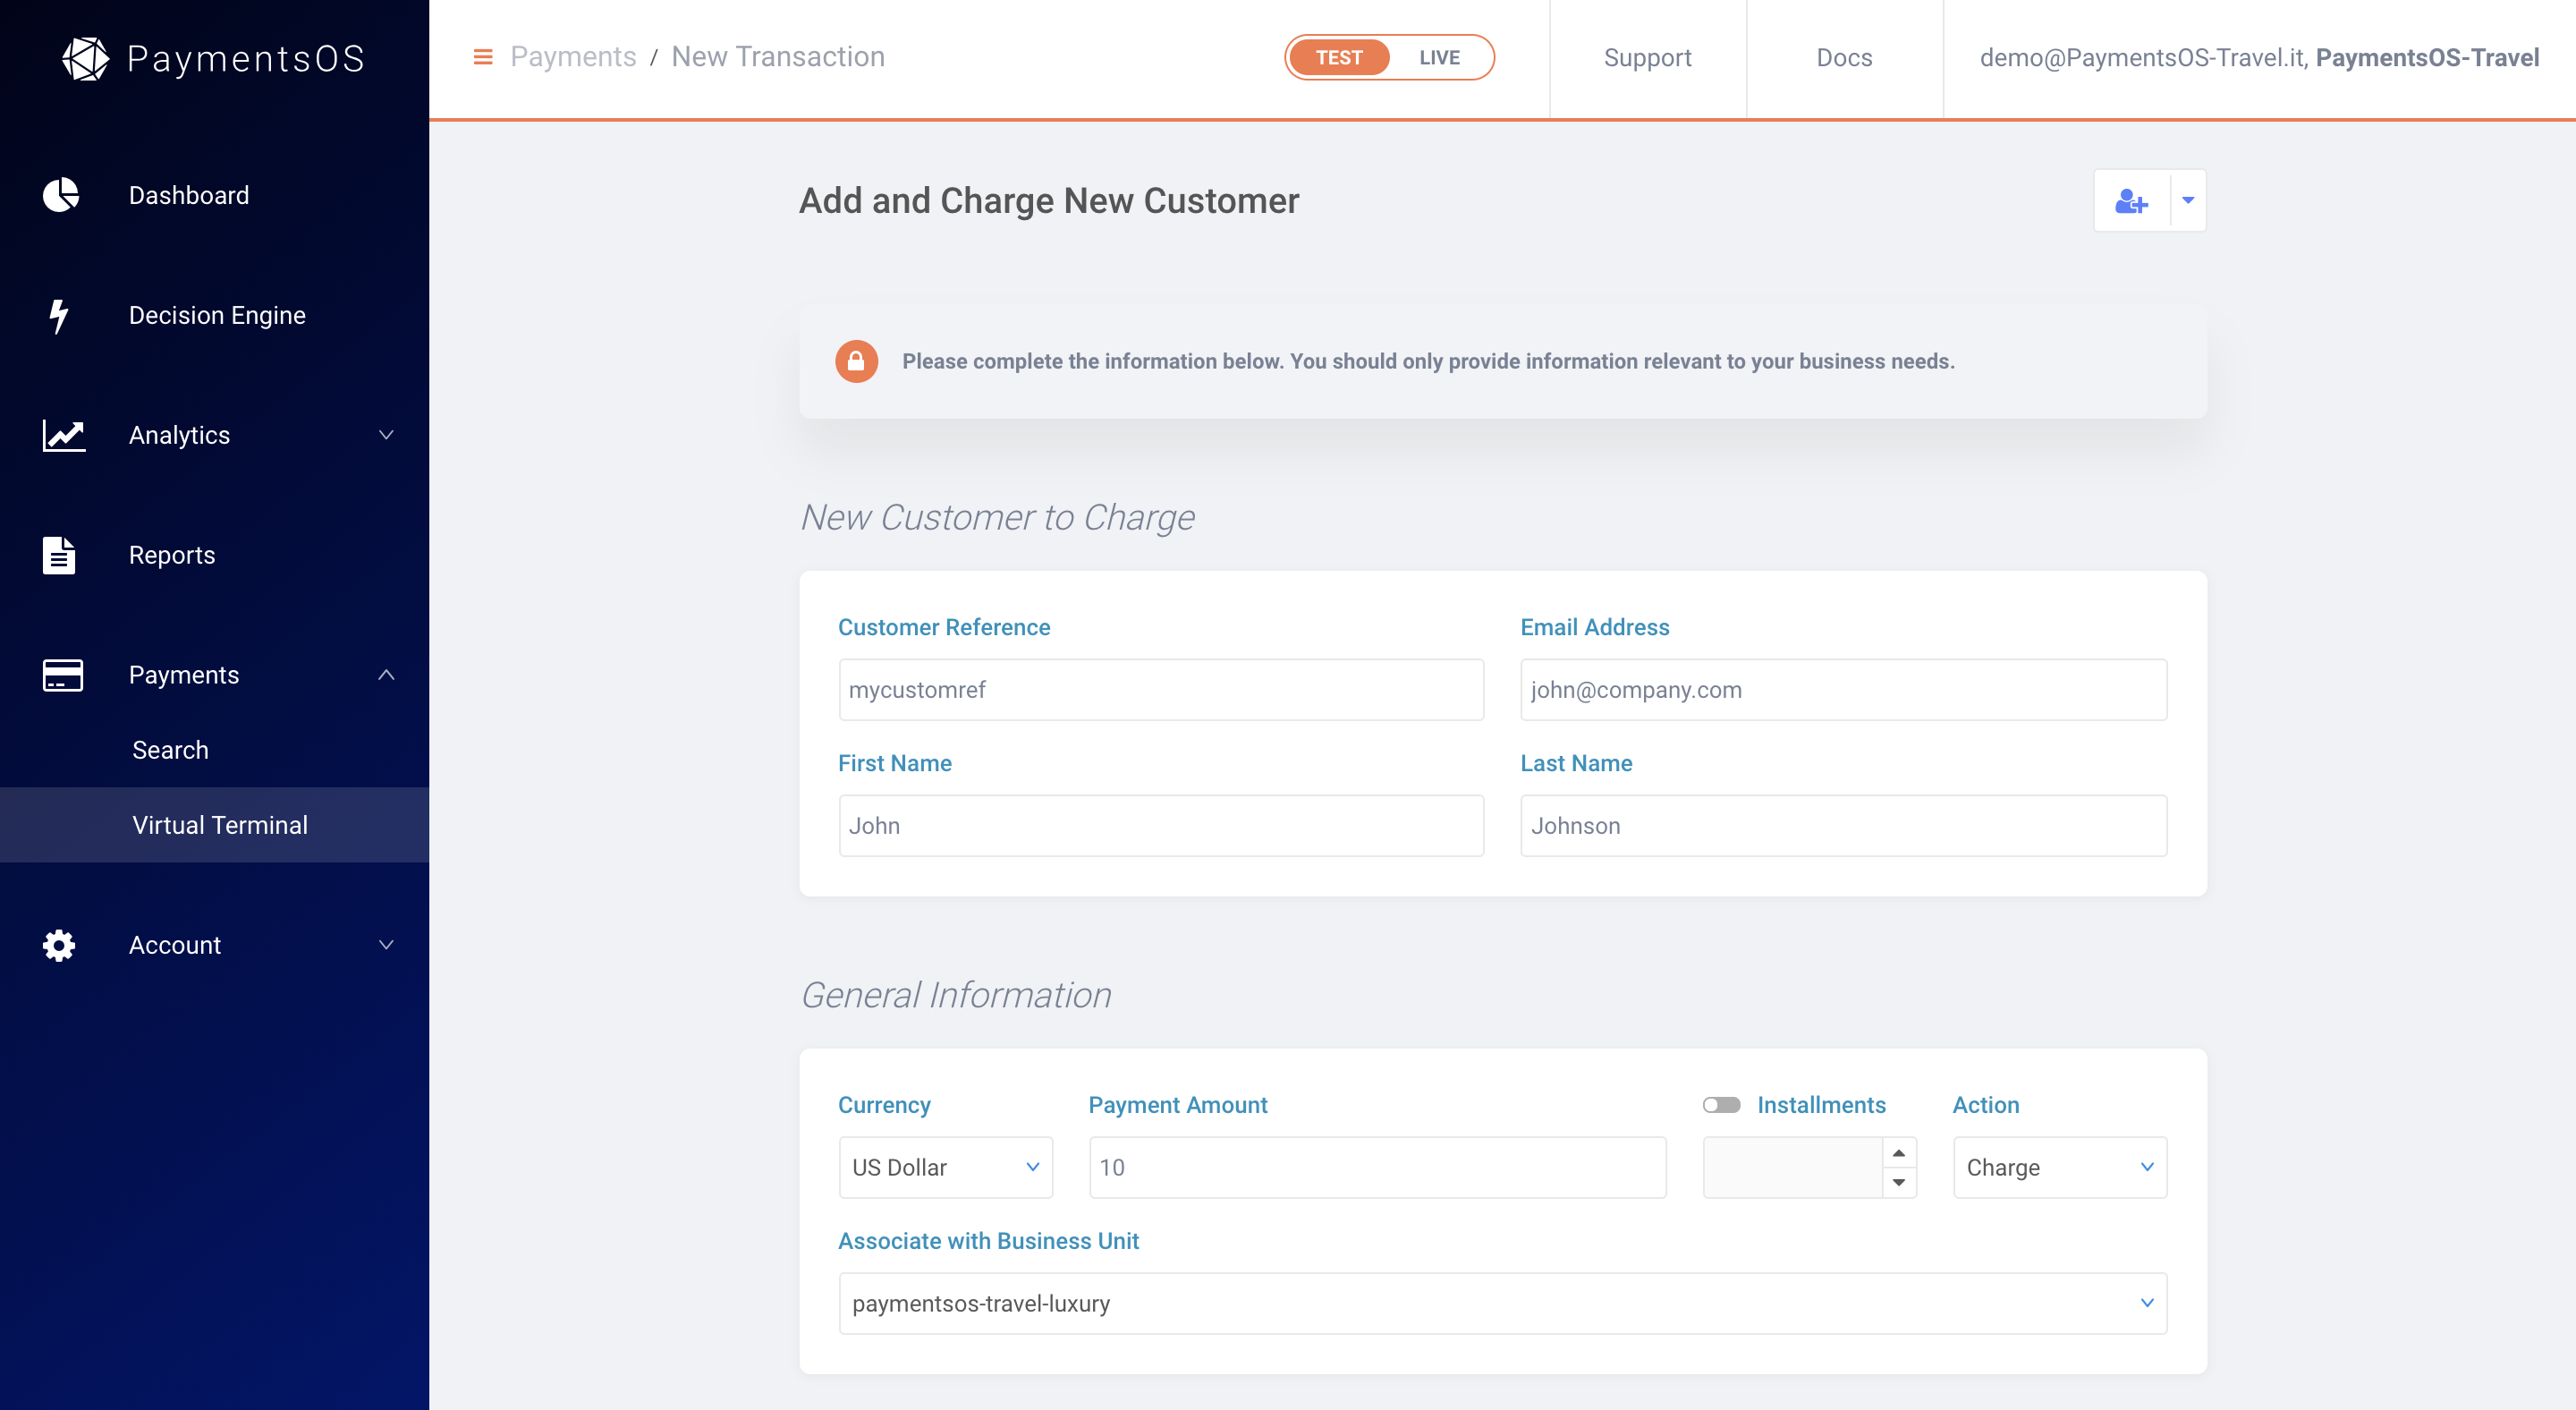
Imagine a virtual ‘point of sale’, where you can charge customers as if they were standing at an actual cash register. Our Virtual Terminal is just that!
You can use the Virtual Terminal to initiate a payment on behalf of a customer and charge your customer on-the-fly. Similar to a cash register, customers do not have to be registered with you to do a purchase (although you can easily register new customers if you wish). Of course, if you do have a customer’s card on file, you can simply use existing card information to complete the transaction.
You must be assigned to the Virtual Cashier user role to have access to the Virtual Terminal. To access the Virtual Terminal, choose Payments > Virtual Terminal.
Notes
Some providers to which a payment may be routed require customers to authenticate themselves, or may require that you submit specific information (provider-specific data) for the transaction to go through. In this case, the Virtual Terminal will return a message indicating that the transaction could not be completed. To prevent this from occurring, you can create a route rule that directs payments coming from the Virtual Terminal to a provider that does not require user authentication or provider-specific data. For more information, see Routing Transactions Coming from the Virtual Terminal.Balances and Payouts
Your account balances shows the accumulation of funds for each provider processing your transactions. To access and view your account balances, choose Account > Balances from the PaymentsOS control center left menu.
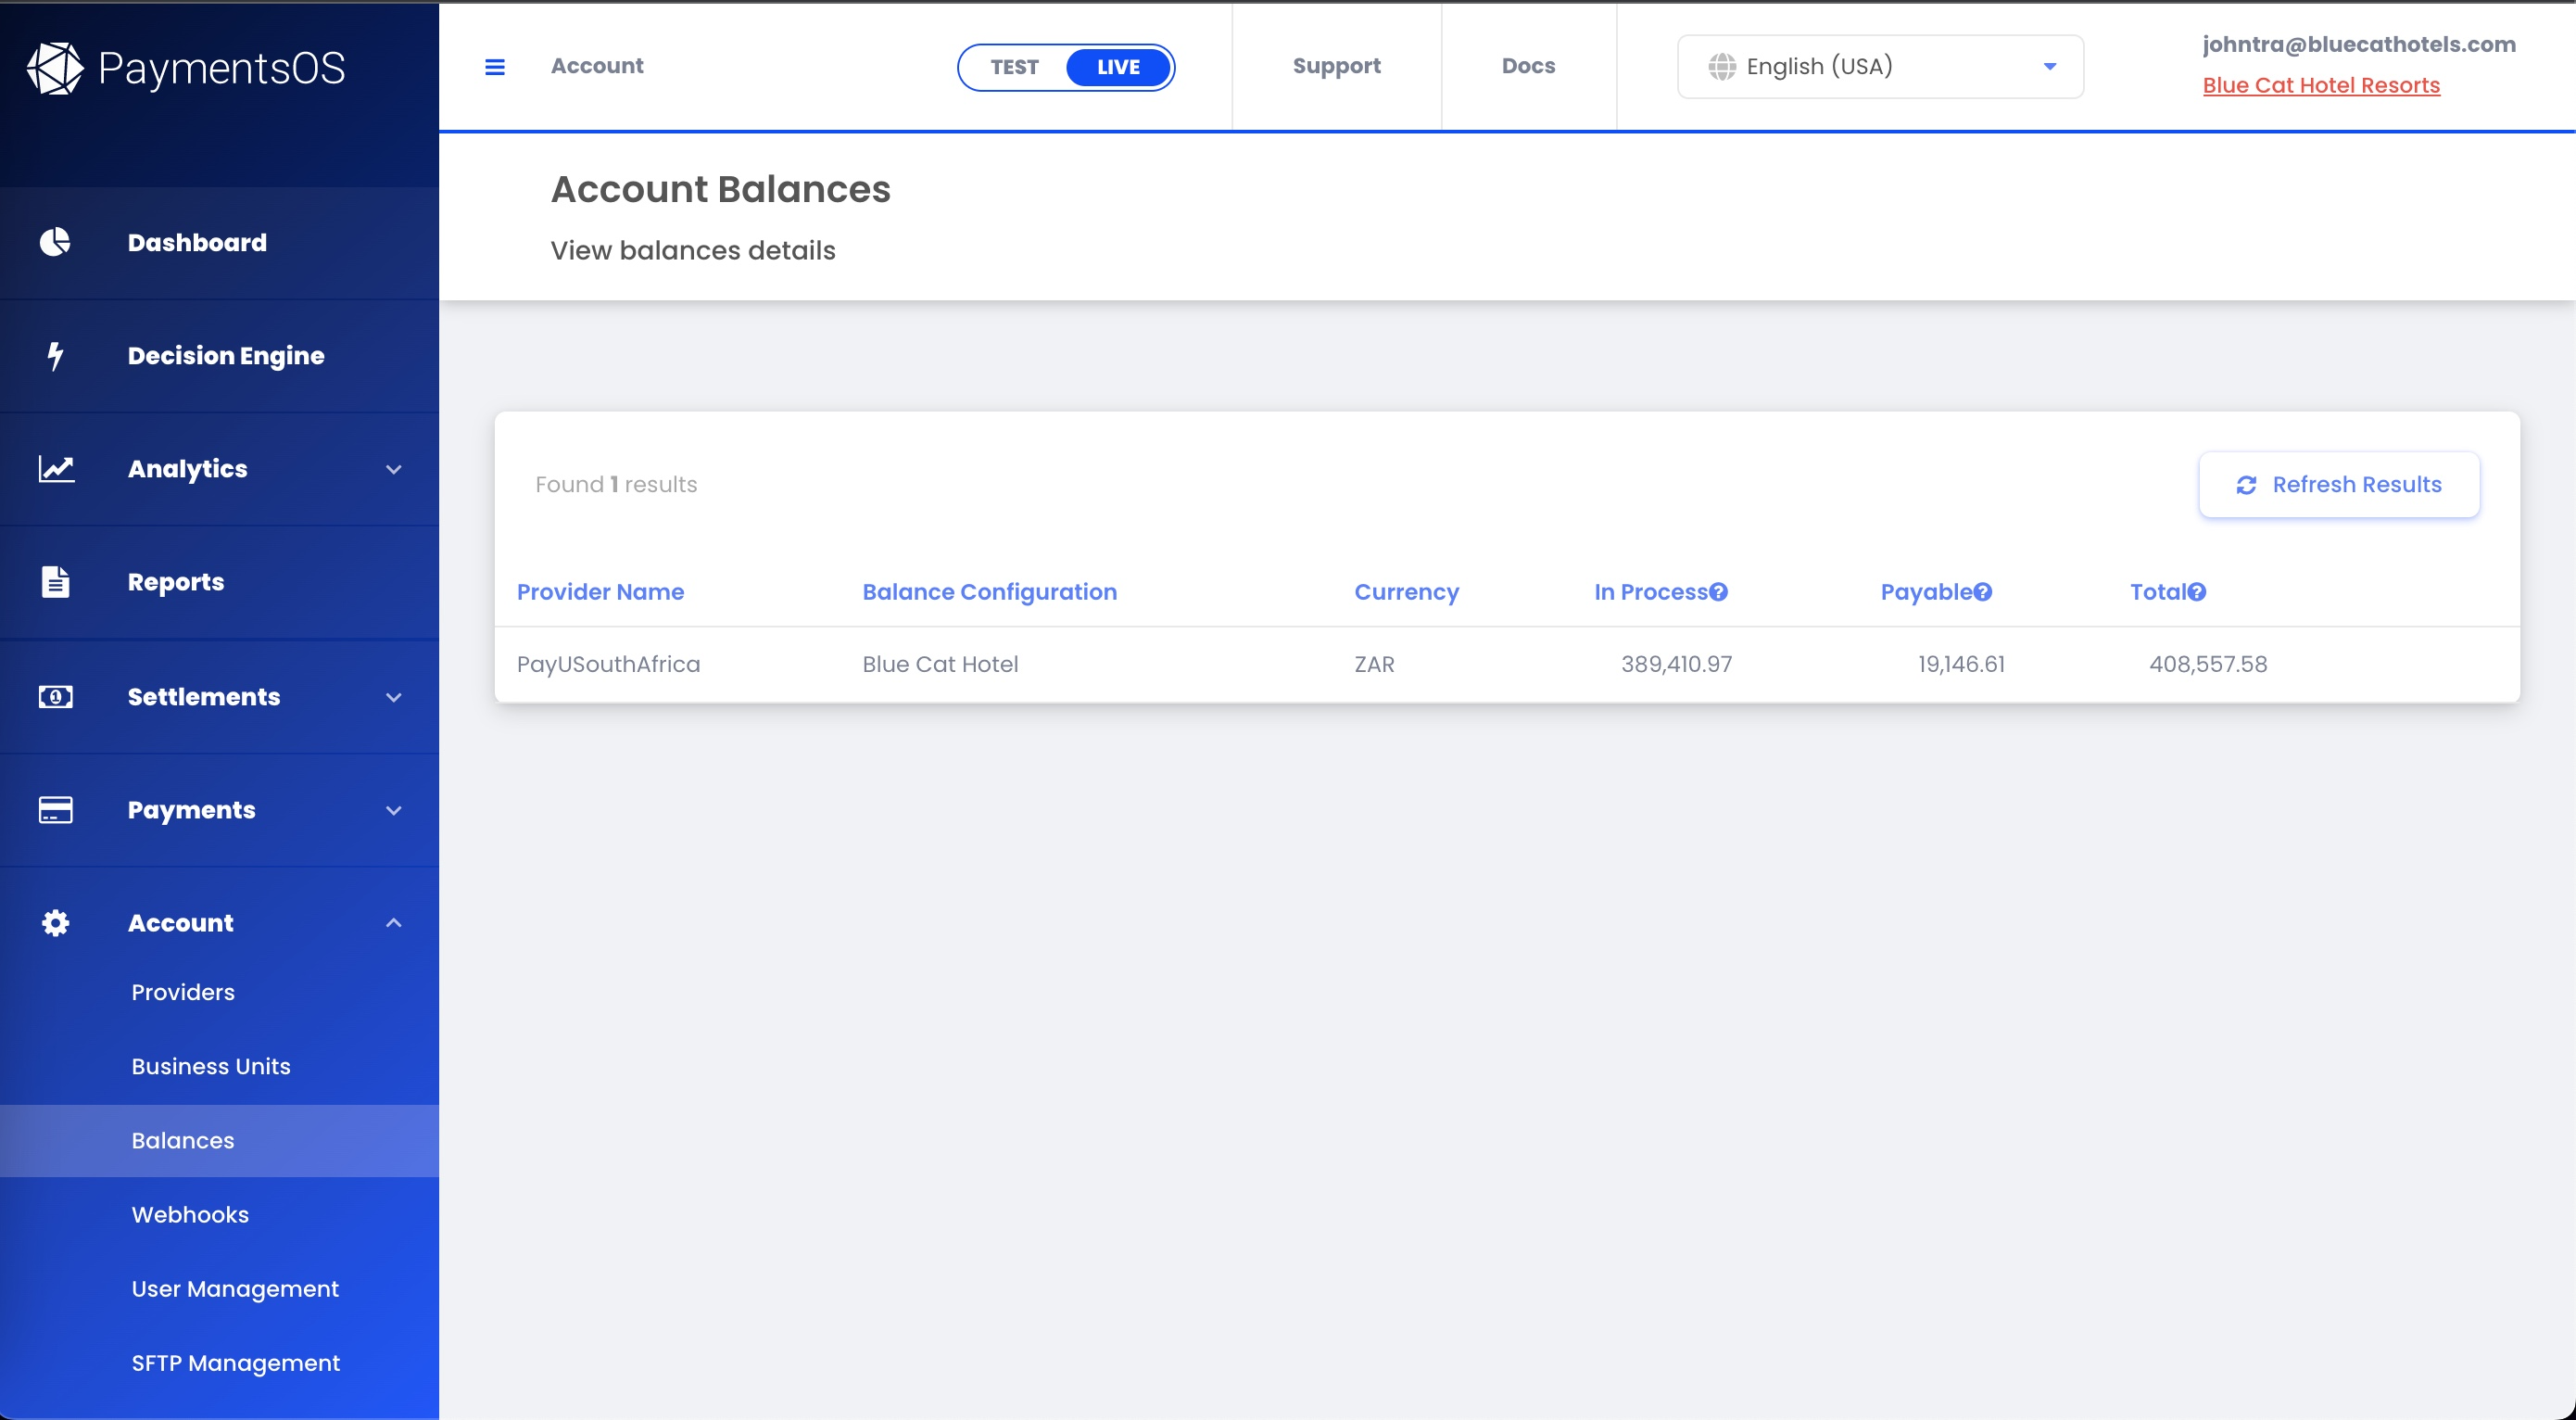
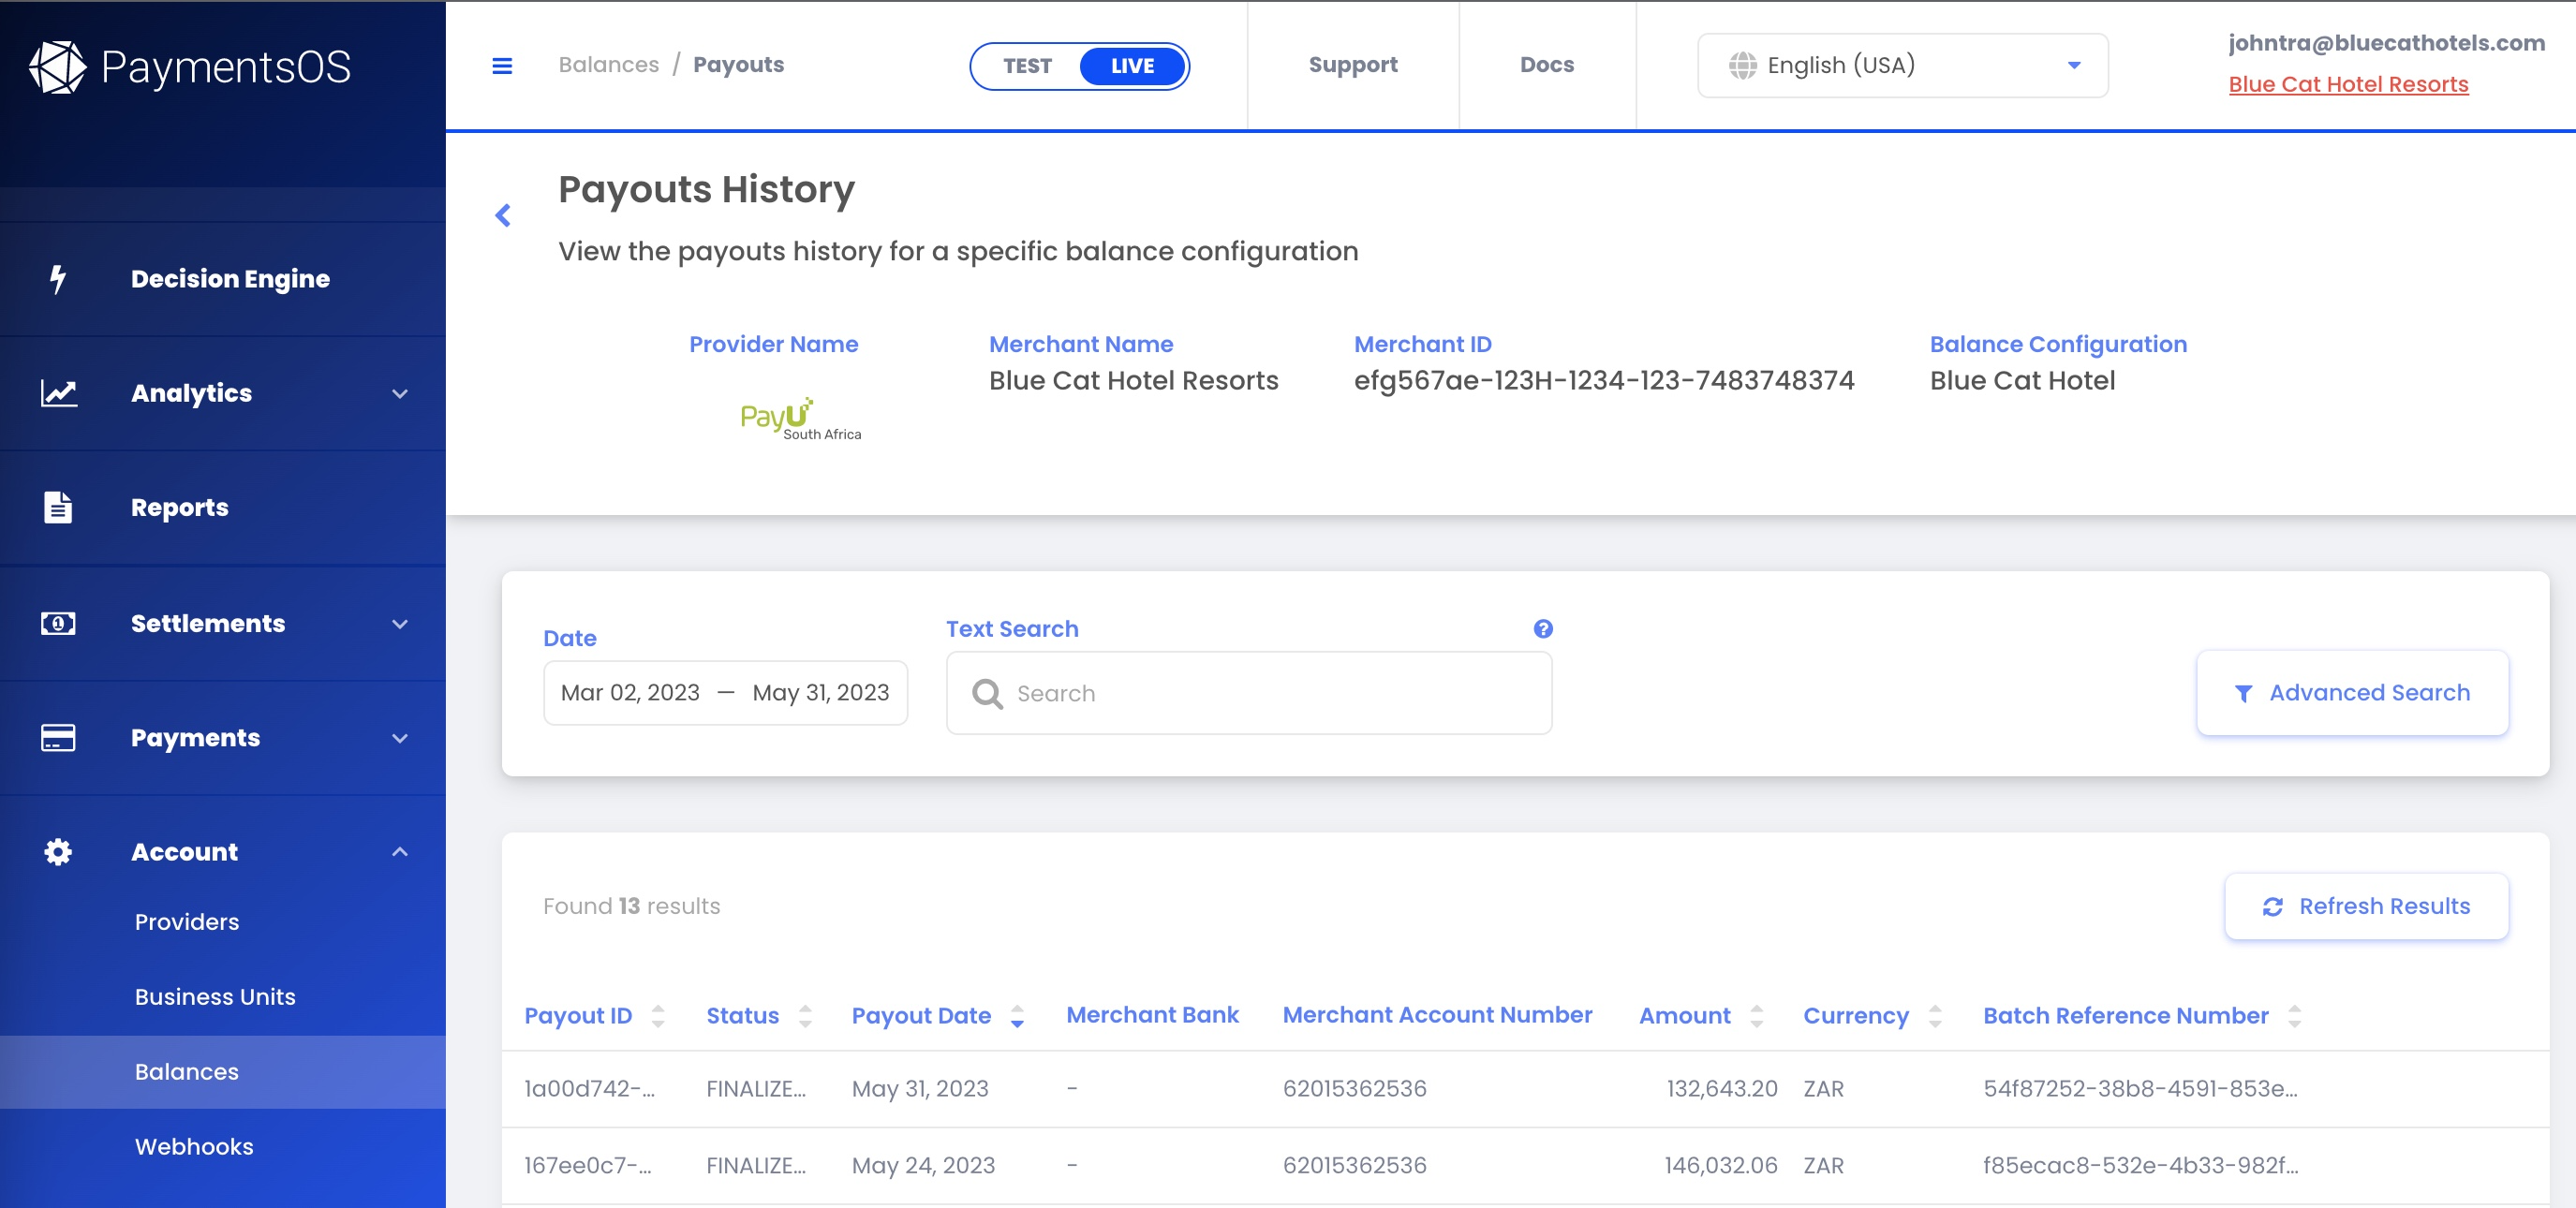
The process of transferring these accumulated funds from your account balance to your designated bank account is called a payout. To view your payouts' history, go to Account > Balances and choose View payout history from the drop-down menu on the right of each balance row. This will show a breakdown of all funds paid out to you.
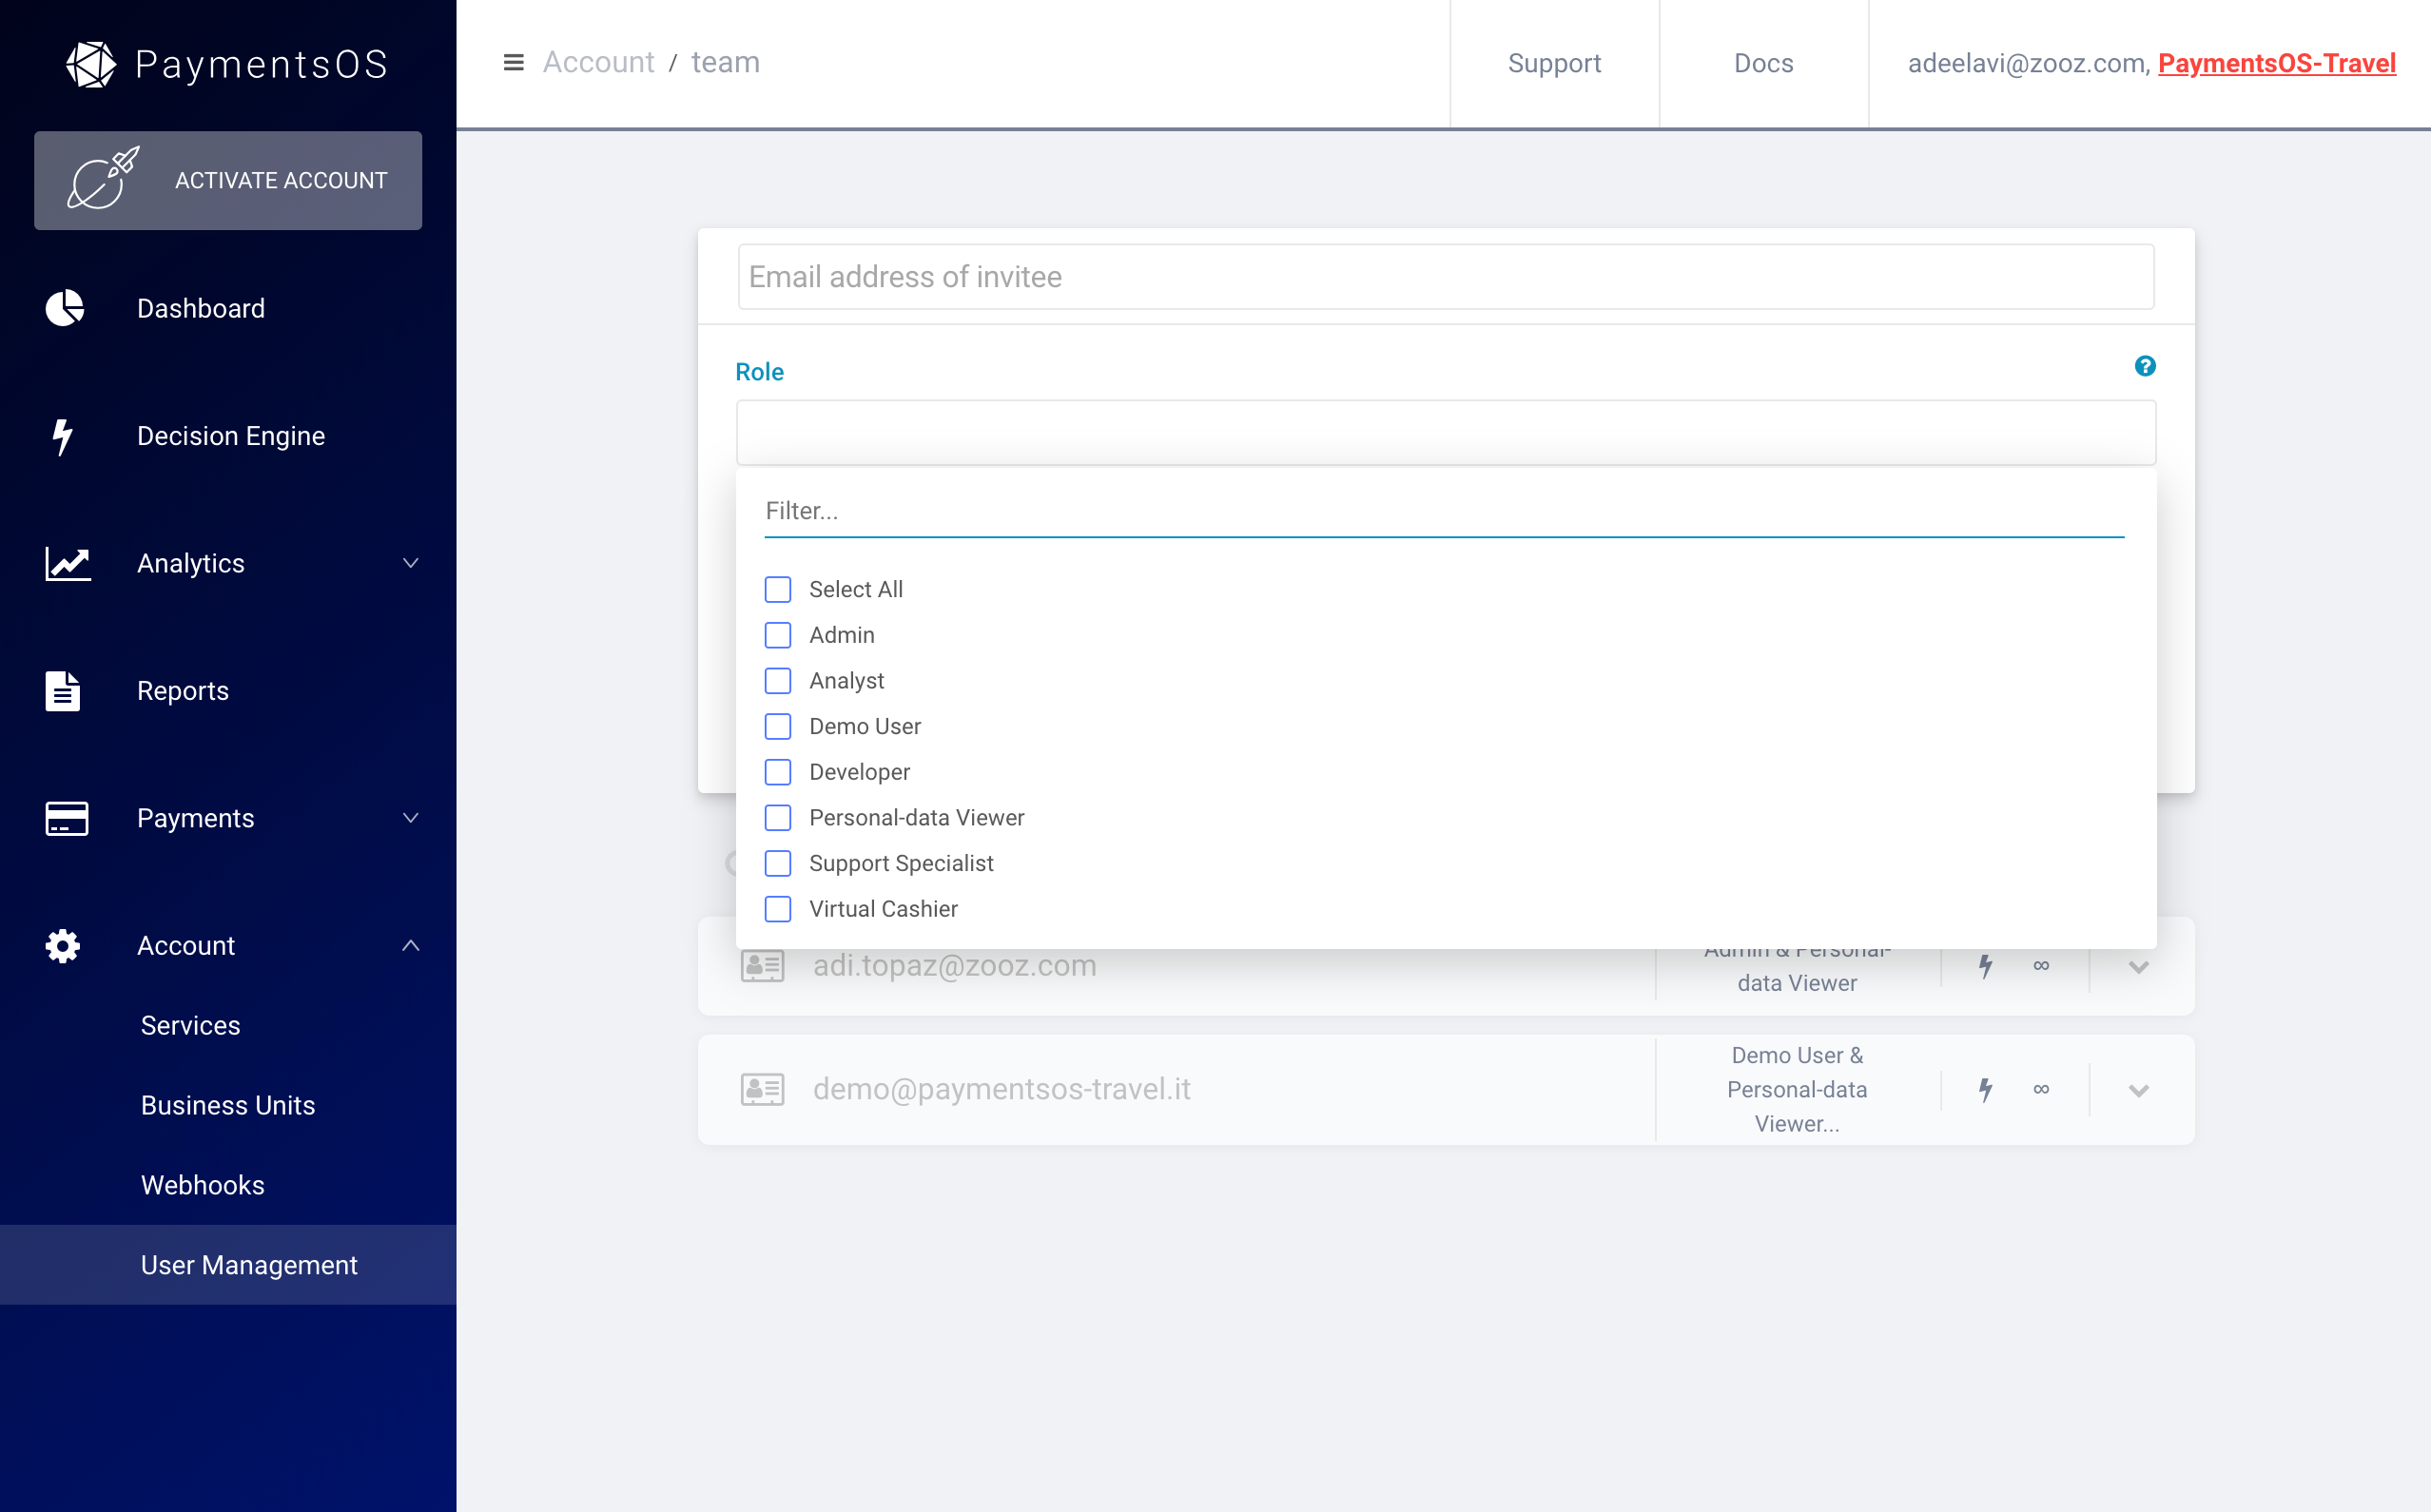
User Management
Invite your teammates to become collaborators in the PaymentsOS Control Center. You can assign different user roles according to each user’s role in your organization and provide access to the relevant business units based on your business structure. Users assigned to the support role, for instance, will be able to search payment records and refund customers.
